Photographing Grill Layouts Mid-Cook to Analyze Fuel Placement Impact Later
You’re capturing more than just flames when you photograph your grill mid-cook-those images reveal how fuel placement drives heat zones and cooking outcomes. A well-timed shot shows charcoal clustering, airflow gaps, or burner imbalances that create hotspots or cool edges. Over time, these photos help you refine setup symmetry and avoid flare-ups. They turn guesswork into data, letting you tweak for even sears and better doneness. What you see now is just the start of smarter control.
Notable Insights
- Capture overhead photos mid-cook to visualize fuel distribution and identify uneven charcoal placement.
- Use timer-stamped images to correlate cooking phase with heat zone development and flare-up timing.
- Take side-angle shots to assess grate height and airflow impact on fuel combustion and heat retention.
- Label grates in photos to match marinade techniques with specific heat exposure and cooking outcomes.
- Review recurring hotspots or cool zones across sessions to refine fuel symmetry and prevent flare-ups.
Why Grill Photos Reveal Hidden Heat Problems
Ever wonder why some burgers sear perfectly while others end up with charred edges and a raw center? It’s often due to hidden heat issues your eyes might miss mid-grill. Photographing your setup reveals what you can’t see: flare ups triggered by uneven fuel, or hotspots forming under specific grates. These temperature imbalances come from poor airflow, inconsistent charcoal placement, or grease flare-ups you didn’t catch. Over time, spots on the grill run hotter, creating zones that sabotage even cooking. A quick shot of the layout captures these patterns-sudden flame bursts, areas glowing red, or cool zones near the edges. You’re not just documenting dinner; you’re diagnosing performance. Reviewing images helps link fuel arrangement to cooking flaws. With visual proof, you adjust placement, manage airflow, and avoid repeat mistakes. Grill photos aren’t just for show-they’re analysis tools that expose hidden heat problems before they ruin your meal. Choosing the right equipment, like a well-designed charcoal grill smoker, can significantly improve heat distribution and make your photographic analysis even more effective.
How to Capture Your Grill Setup for Analysis
How well you document your grill’s layout directly impacts how accurately you can diagnose heat distribution issues. To capture reliable data, photograph your setup mid-cook with all grates, coals, and grill accessories in place. Use overhead and angled shots to show fuel arrangement and spatial relationships. Consistent lighting and a neutral backdrop improve clarity. Include labels or notes on marinade techniques used, as residue patterns can reveal flare-up risks. Below is a checklist to optimize your documentation:
| Element | Purpose |
|---|---|
| Overhead photo | Maps fuel placement |
| Side-angle shot | Shows grill accessories height |
| Timer stamp | Tracks cooking phase |
| Grate labeling | Identifies marinade techniques |
| Fuel zone marker | Highlights primary sear areas |
Quality images support better analysis of how layout affects results.
What Your Grill Photos Say About Heat Zones
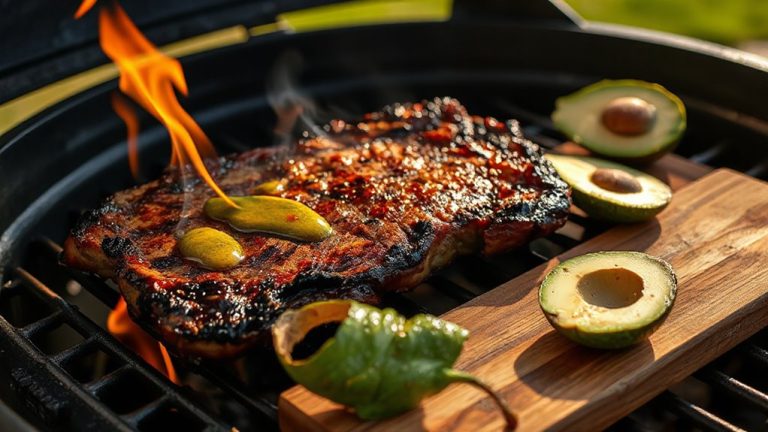
Why do some areas of your steak sear deeply while others cook unevenly? Your grill photos reveal heat zones through subtle cues like grill shadows and flare patterns. Darker shadows often indicate blocked radiant heat, showing where fuel is sparse or obstructed. Light, even shading suggests consistent heat distribution. Flare patterns, visible as bright streaks or sudden burn spots, expose where fat drips ignite-usually above concentrated coals or gas burners. These aren’t just random; they map hotspots that can sear one part of food while undercooking another. By reviewing these details mid-cook, you spot imbalances before they ruin your meal. Consistent flare activity in one zone? That’s a sign of uneven airflow or fuel crowding. Over time, tracking these patterns helps refine setup precision. Your photos aren’t just records-they’re diagnostic tools, translating visual clues into smarter grilling decisions based on actual thermal behavior, not guesswork.
How Fuel Placement Shapes Cooking Results
When you stack charcoal toward the back of the grill or cluster burners on one side of a gas unit, you’re not just arranging fuel-you’re designing a cooking environment. Fuel symmetry plays a key role: uneven distribution creates hot spots and cold zones, making consistent cooking tough. A balanced layout improves heat retention, especially with charcoal, where tightly packed coals hold temperature longer. Offset fuel placement allows searing on the hot side and gentle finishing on the cooler side-ideal for thicker cuts. But if your fuel isn’t aligned with your cooking style, you’ll fight flare-ups or underdone centers. Monitoring how coals degrade or burners cycle reveals where heat dips or spikes. Proper placement doesn’t just ignite the fire-it sustains control. Over time, poor symmetry wears on results, while smart positioning enhances efficiency, flavor development, and cooking precision across grilling sessions.
Use Photos to Adjust Fuel for Even Heat
You’ve already seen how fuel placement shapes the cooking environment, influencing everything from sear marks to carryover heat. Now, use your mid-cook photos to fine-tune that setup for even results. Check grill symmetry-uneven coals often create hot spots, leaving parts undercooked or scorched. A balanced layout promotes uniform temperatures across the grates. Look closely at char distribution too; patchy or lopsided charring usually means fuel is clustered or gaps exist where airflow disrupts heat. Photos help you spot these imbalances in real time, letting you adjust before they ruin the meal. Over time, comparing images reveals patterns-maybe your preferred lump charcoal burns faster on one side due to wind exposure. These visual records aren’t just documentation-they’re tools. With them, you refine placement, improve consistency, and master control. Ultimately, a well-documented fire leads to better fuel economy and superior searing.
On a final note
You’ll spot heat inconsistencies quickly when reviewing mid-cook grill photos-something even seasoned pitmasters overlook. Capturing fuel layout helps you correlate placement with cooking performance, revealing cold spots or flare-ups. Adjusting coals based on visual evidence improves heat distribution, leading to more reliable searing and even doneness. Over time, this method sharpens your control, making temperature management less guesswork and more precision. Photos become practical tools, not just memories.