How to Grill Pizza Outdoors Without Burning the Crust
Use high-protein bread flour and cold-ferment your dough for 24–48 hours to build strength and resilience. Preheat your grill to 475–500°F with the lid closed, then set up a two-zone fire for controlled cooking. Stretch the dough evenly, oil both sides, and sear it directly over heat before moving it to indirect heat. Add toppings only after the crust is stable to avoid burning. There’s a smart way to time each step for flawless results every time.
Notable Insights
- Use high-protein bread flour and cold ferment the dough for 24–48 hours to build strength and heat resistance.
- Preheat the grill to 475–500°F with the lid closed to create a stable, oven-like cooking environment.
- Set up a two-zone fire to sear the dough over direct heat and finish cooking over indirect heat.
- Stretch dough evenly and coat both sides with olive oil to prevent sticking and improve grill stability.
- Add sauce and toppings only after the crust is grilled on one side to avoid burning delicate ingredients.
Choose Dough That Holds Up on the Grill
A sturdy dough makes all the difference when you’re grilling pizza outdoors-flimsy crusts tear easily or fall through the grate, ruining your meal before it really begins. You need a dough that holds up under direct heat without going limp or shrinking too fast. Choosing the right flour type is key; high-protein bread flour gives structure and chew, helping the crust resist tearing. All-purpose works in a pinch, but it’s less reliable. Fermentation time also affects durability: 24 to 48 hours of cold fermentation develops gluten strength and flavor, making the dough easier to stretch and more resilient on the grill. Shortcuts? They exist, but they compromise texture and performance. A well-fermented, properly floured dough won’t just survive the grill-it’ll thrive, giving you crisp edges, slight char, and a base strong enough to support toppings without sagging.
Preheat Your Grill to Pizza-Perfect Temperatures
Getting your grill up to the right temperature isn’t just a step-it’s the foundation of great grilled pizza. You need enough direct heat to char the crust slightly while cooking the toppings through. Let your grill run hot for at least 10–15 minutes with the lid closed to stabilize the ambient temperature. This mimics an oven’s radiant environment, essential for even results. Use this guide:
| Heat Level | Target Temperature |
|---|---|
| Medium | 375–400°F |
| High | 425–450°F |
| Pizza-Ready | 475–500°F |
At 475–500°F, the dough sizzles on contact but won’t burn instantly. The ambient temperature under the lid guarantees the top cooks as the base crisps. Skipping preheating leads to soggy centers and uneven doneness. Always monitor grate heat and airflow-consistent direct heat makes the difference between restaurant-quality and ruined pizza.
Use a Two-Zone Fire for Even Cooking
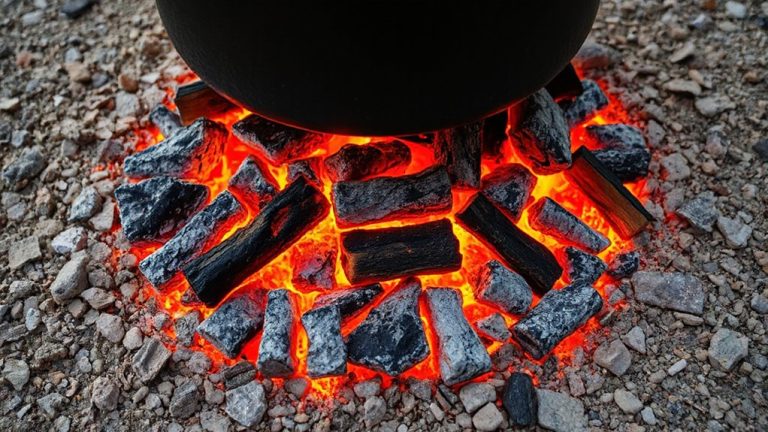
You’ve heated the grill to the ideal range, but controlling that heat dynamically is what really sets apart a well-cooked pizza. Setting up a two-zone fire gives you that control. Pile the coals on one side to create direct heat; leave the other side clear for indirect heat. Sear the dough first over direct heat-about 1–2 minutes per side-to lock in structure and grill marks. Then, flip it and quickly add toppings. Slide the pizza to the indirect heat zone to finish cooking gently without burning the crust. This method balances speed and precision, letting the interior cook through while keeping the exterior crisp. It’s especially effective on charcoal and gas grills alike, offering versatility and reliability. Mastering heat zones doesn’t just prevent mistakes-it elevates your grilling strategy, turning high heat from a risk into a tool.
Stretch & Oil Dough for Grill Stability
Because raw dough can tear or stick when it hits the grill, taking a few extra steps to prepare it properly makes all the difference in texture and control. Start by ensuring your dough hydration level is balanced-around 60-65% works best for grilling, firm enough to handle yet flexible. Too much moisture increases tearing risk, while too little reduces elasticity. Gently stretch the dough by hand, rotating as you go, to maintain even thickness and avoid thin spots. Once stretched, lightly coat both sides with olive oil. This not only prevents sticking but also enhances the surface texture, helping it hold grill marks without burning. The oil creates a barrier, stabilizing the dough during the initial sear on the hot zone. Properly oiled and stretched dough holds its shape, bubbles evenly, and delivers a crisp, charred exterior with tender chew-critical for grilled pizza success. For consistent results, consider using a dedicated outdoor pizza oven that evenly distributes heat and mimics authentic wood-fired conditions.
Add Toppings at the Right Time to Prevent Burning
Once your dough is stretched and lightly oiled, the next move-timing your toppings-can make or break the final result. You’ll want to place the dough on a hot grill, cooked briefly on one side before flipping. Only then should you add sauce and toppings. Adding sauce too early risks sauce scorching due to direct flame exposure, ruining both flavor and texture. Similarly, cheese applied before the base is stable can begin melting prematurely, leading to uneven cheese browning or sticking when you transfer the pizza. For best results, layer toppings quickly but thoughtfully after the crust holds its shape. Soft cheeses, delicate greens, or raw vegetables should go on in the final moments to avoid overcooking. This method guarantees crust integrity, balanced doneness, and rich flavor development-hallmarks of expert outdoor pizza grilling. Precision here improves consistency far more than heat adjustments alone.
On a final note
You’ve got the tools to grill pizza without burning the crust. Using a two-zone fire gives you control, while preheating guarantees proper oven-like heat. Sturdy dough, oiled well, holds up on the grates, and timing toppings prevents scorching. This method outperforms indoor baking in flavor, delivering a smoky char and crisp exterior. With practice, it becomes efficient and reliable-ideal for backyard cooking where technique meets results.