Layering Sugar-Based Glazes Mid-Cook Without Burning via Strategic Basting
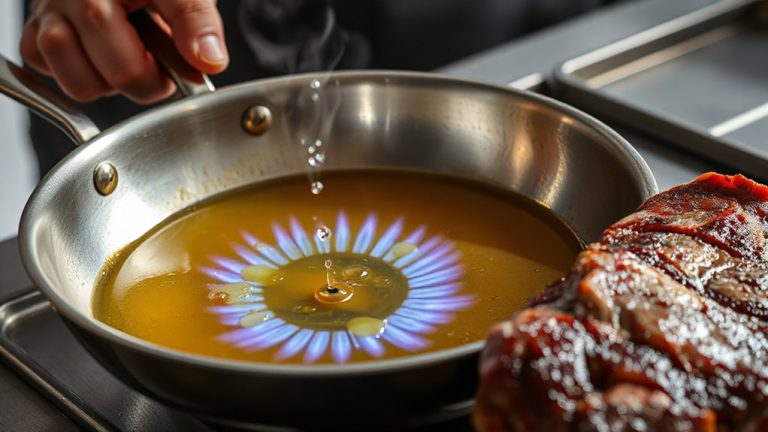
You can layer sugar-based glazes mid-cook without burning by basting strategically during the final 15–20 minutes, once the meat has developed a dry surface. Use indirect heat and keep temps around 300–350°F to prevent scorching. Apply thin coats, letting each set before adding the next, and opt for a bourbon-maple glaze that builds shine and flavor gradually. Timing and control make all the difference-there’s a proven method that fine-tunes this process even further.
Notable Insights
- Apply glaze in thin layers during the final 10–15 minutes to prevent burning.
- Use indirect heat when basting to allow glaze to set without charring.
- Let each glaze layer fully set before adding the next for even, glossy buildup.
- Dilute thick glazes with vinegar or citrus juice to improve consistency and reduce sticking.
- Pat meat dry before basting to ensure glaze adheres properly and doesn’t run off.
Prevent Sugar Burn When Glazing Meat
While glazing meat with sugar-based sauces can add rich flavor and a glossy finish, you’ve got to watch the heat-sugar burns easily, especially over open flames. To prevent this, heat modulation is key: lower the temperature during basting, especially on grills with intense direct heat. You’re better off using indirect zones or temporarily moving meat away from flames. Apply thin layers of glaze first-let each set before adding more. A thick glaze thickness traps heat and increases scorch risk, while a controlled, gradual build enhances caramelization without charring. Thick, syrupy coats may look impressive but often burn before the meat fully absorbs flavor. Consistent, light bastes at lower heat yield a stable, even crust. This method demands patience, yes, but guarantees the sweetness enhances rather than overwhelms. With steady heat modulation and smart layering, your glaze supports the meat’s profile, not masks it.
Pick the Right Glaze for Your Cooking Method
How often have you slathered on a thick, sticky glaze only to see it blacken over hot coals? That’s usually a mismatch between glaze thickness and your cooking method. For high-heat grilling, go for a thinner glaze-too thick, and the sugars caramelize too fast, turning bitter. Low-and-slow smoking? You can afford a richer, heavier glaze that builds complexity over hours. Think about flavor pairing, too: a bourbon-maple glaze complements pork ribs beautifully, while citrus-soy fits better with chicken or shrimp. Sugar content directly affects burn risk, so match it to your heat source. A runny, vinegar-based glaze works well on chicken over direct flame, whereas a molasses-heavy one needs the milder temps of indirect heat. Choosing wisely means you’re not just avoiding burnt outcomes-you’re enhancing the meat’s natural taste through smart, method-driven glaze selection.
Apply Glaze at the Right Time for Best Results
If you’ve ever painted a grill grate with glaze too soon, only to watch it scorch into a carbonized crust, you already know timing matters just as much as the recipe. Sugar-based glazes have high heat sensitivity, meaning they burn quickly under direct, prolonged heat. That’s why early application backfires-applying too soon exposes the sugars to intense heat before the protein or vegetable is fully cooked, resulting in bitterness and wasted effort. For best results, wait until the final 10 to 15 minutes of cooking. By then, the food’s surface has developed a stable sear, reducing moisture and creating a better bonding surface. This timing balances caramelization with safety, letting the glaze shine without sacrificing texture. You’ll get a glossy finish, rich flavor, and that desirable sticky-sweet bite-without the char. Smart timing isn’t just technique; it’s the key to mastery.
Baste for a Sticky, Even Glaze
Brush on the glaze in thin, even layers, letting each coat set before adding the next-this keeps it sticky without turning gloopy. You’re aiming for ideal glaze thickness: too thick, and it burns; too thin, and it lacks flavor impact. Basting strategically gives you control, building shine and grip with each pass. Proper heat control is essential-keep your grill or smoker in the medium range, around 300–350°F. High heat ruins sugar-based glazes fast, but low and steady lets them caramelize smoothly. Use a good brush for even coverage, and baste every 5–7 minutes after the first layer sets. This method works especially well on ribs, chicken, or ham, where surface area and texture matter. You’ll get a glossy, tacky finish that holds flavor and resists cracking. Mastering timing and temperature means the difference between restaurant-quality and ruined meat. Basting isn’t just application-it’s precision.
Fix Common Glaze Problems: Burning, Sticking, and Run-Off
While sugar-based glazes deliver rich color and intense flavor, they’re prone to issues like burning, sticking to the brush, or running off the meat if not managed carefully-so paying attention to timing and technique makes all the difference. Apply glaze too early, and high heat scorches the sugars; wait until the final 15–20 minutes to avoid burning. If your glaze sticks to the brush, it’s likely too thick-dilute slightly with vinegar or citrus juice to optimize glaze thickness for smooth application. Surface moisture on the meat also affects results: pat proteins dry before glazing to help adhesion and prevent run-off. Too much surface moisture causes the glaze to bead and slide. For even layers, baste in stages, allowing each coat to set. Monitoring both glaze thickness and surface moisture guarantees a glossy, flavorful finish without waste or bitterness.
On a final note
You’ve learned that timing and technique make all the difference when layering sugar-based glazes. Basting mid-cook prevents burning while building depth and shine. Choosing the right glaze for your method-whether grill, smoker, or oven-ensures ideal caramelization without char. With proper heat management and frequent, light applications, you achieve a sticky, flavorful crust. These strategies enhance control, improve texture, and elevate your outdoor cooking results consistently.