How to Build the Right Fire Bed for Even Heat Distribution Under a Dutch Oven
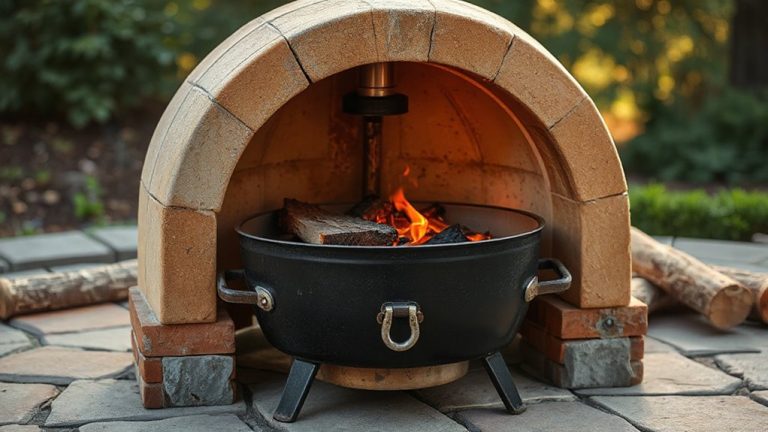
Use hardwoods like oak or hickory to build your fire, letting them burn down to hot, glowing coals-never cook over open flames. Keep 75–80% of the coals under the oven for steady heat, and place the rest on the lid to create even, convection-like cooking. Space coals farther apart to lower heat, or pack them tighter to boost it. Rotate the oven every 15 minutes and clear ash buildup to prevent hot spots. A two-zone setup gives you better control, and with the right balance, you’ll avoid scorching or uneven results-there’s more to mastering this method just ahead.
Notable Insights
- Use hot, glowing coals from hardwoods like oak or hickory for steady, even heat and clean burning.
- Place 75–80% of coals beneath the Dutch oven to ensure consistent bottom heating and prevent scorching.
- Position 20–25% of coals on the lid to create enveloping heat and eliminate cooking hot spots.
- Adjust coal spacing and density to control temperature-wider spacing lowers heat, tighter grouping increases it.
- Rotate the oven every 15 minutes and clear ash buildup to maintain even heat distribution and airflow.
Choose the Right Fire for Dutch Oven Cooking
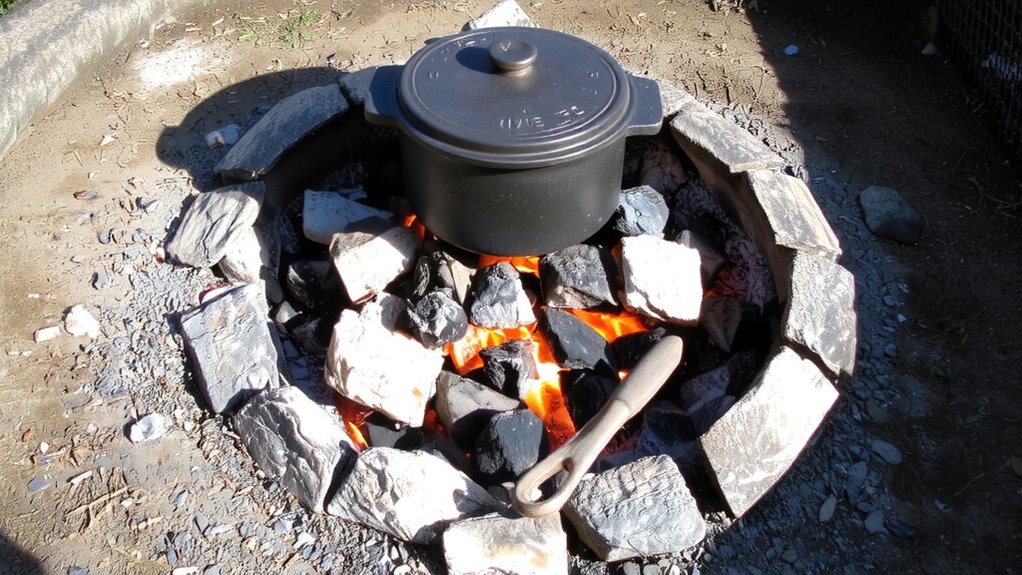
While you might be tempted to just pile up some logs and call it good, getting the right fire for Dutch oven cooking actually makes or breaks your meal. You need consistent fire temperature, ideally between 325°F and 350°F, which means controlling both fuel type and airflow. Hardwoods like oak, hickory, or mesquite are ideal-clean-burning, long-lasting, and producing steady heat without excessive flare-ups. Softwoods, on the other hand, burn unevenly and leave excess creosote, risking bitter flavors. You’ll want to let your wood burn down to hot, glowing coals rather than cook over open flames, which create hot spots and scorch food. Monitoring fuel type guarantees predictable performance, while regulating fire temperature prevents undercooking or burning. With the right balance, you set the foundation for even heat-critical before even considering top and bottom coal distribution.
Balance Heat With Top and Bottom Coals
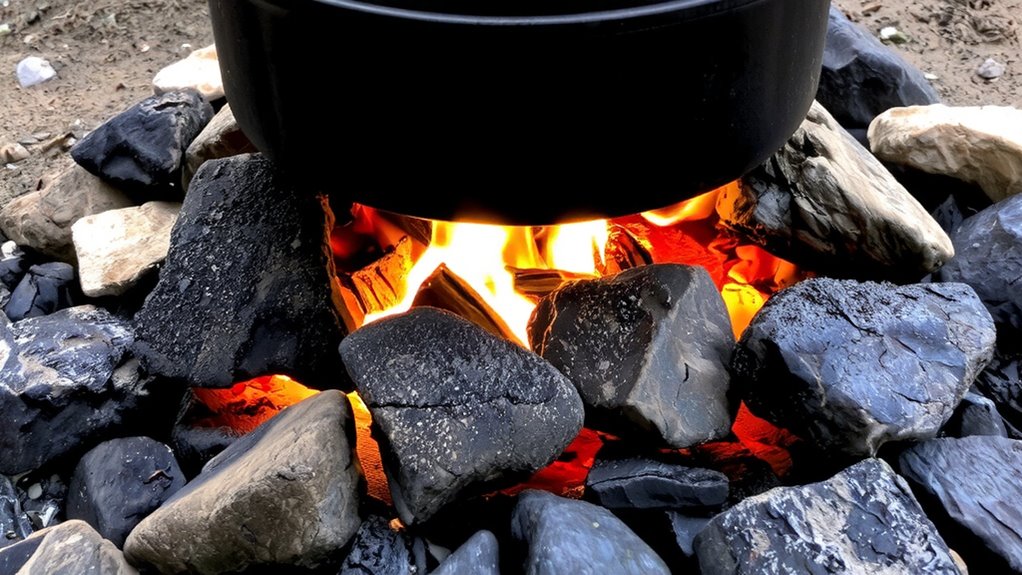
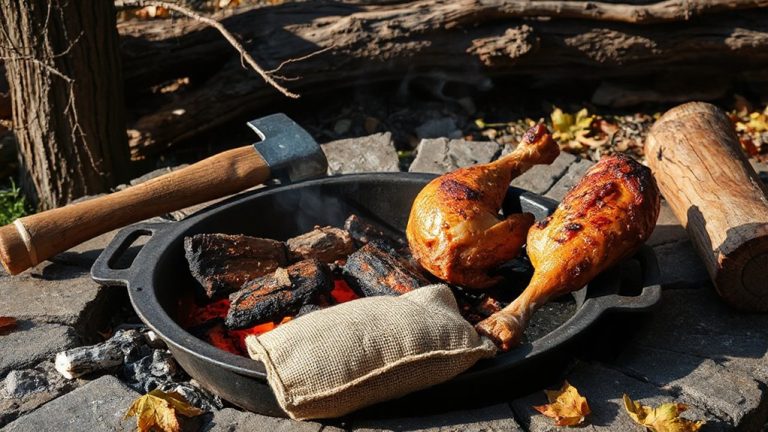
You’ll get the most consistent cooking results when you balance heat from both top and bottom coals-this isn’t just tradition, it’s how Dutch ovens were designed to work. The bottom arrangement of coals should provide steady, even heat from below, preventing scorching while ensuring thorough cooking. Typically, 75–80% of your total coals go underneath, spaced to match the oven’s diameter. Top placement matters just as much; the coals on the lid create a gentle, enveloping heat that mimics an oven’s convection. About 20–25% of coals on top help eliminate hot spots and promote uniform browning. Together, this balanced setup allows for precise simmering, baking, or braising. You’ll notice fewer temperature swings and better moisture retention. Proper balance reduces flare-ups and minimizes constant monitoring, making it ideal for extended outdoor cooking sessions.
Adjust Temperature by Spacing Coals
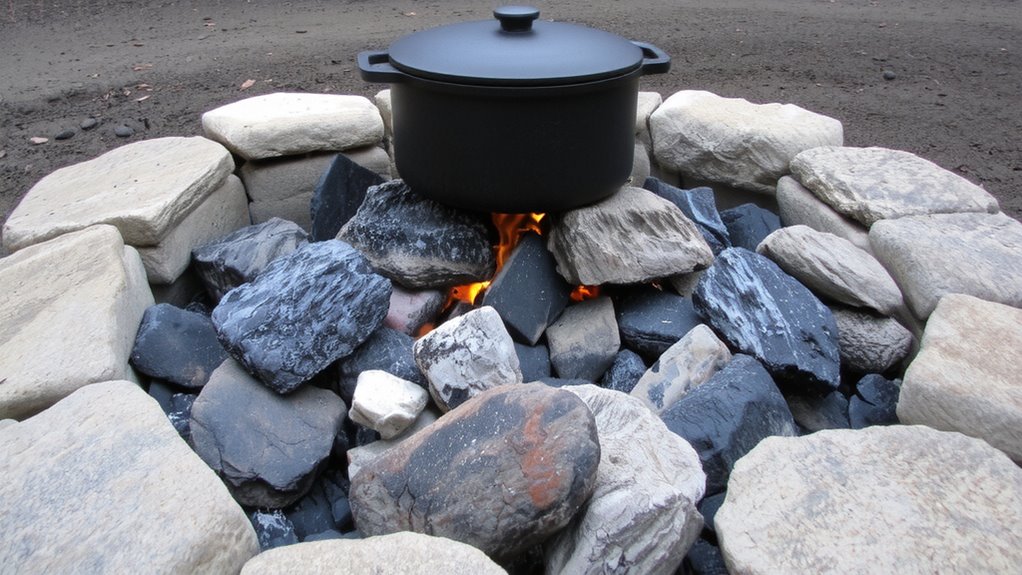
How do you maintain precise control over your Dutch oven’s cooking temperature when you’re out in the field with no thermostat in sight? You rely on coal positioning and ember density. By spreading coals farther apart under or around your oven, you reduce direct heat exposure, effectively lowering the cooking temperature. Tighter groupings increase heat intensity, ideal for searing or boiling. Adjusting spacing gives you fine-tuned control without needing extra fuel. You’ll notice that even small changes in arrangement can shift results-too close, and food burns; too sparse, and it undercooks. Ember density matters just as much: fewer coals mean less consistent heat, while overcrowding risks hot spots. Experienced camp cooks prefer this method because it’s reliable and responsive. With practice, you learn how much space equals 325°F versus 375°F. It’s not guesswork-it’s skill built on observation and deliberate coal positioning.
Use a Two-Zone Fire for Better Control
A two-zone fire gives you far more control than scattered coals ever could, building on the precision you’ve already gained from adjusting coal spacing. With proper fire placement, you create one side of intense heat for searing or boiling and a gentler zone for slower, even cooking-ideal under a Dutch oven. This setup enhances airflow control, letting you manage combustion without constant coal shuffling. You respond to temperature shifts quickly, moving the pot instead of rebuilding the fire. It’s efficient, predictable, and far better for complex meals.
| Zone | Purpose | Coal Density |
|---|---|---|
| Direct | High heat tasks | High |
| Indirect | Simmering, even baking | Low |
| Front | Easy access for checks | Medium |
| Rear | Sustained burn, airflow source | Medium-High |
This method elevates outdoor cooking from guesswork to strategy.
Fix Common Dutch Oven Heat Problems
Why does your stew burn on one side while staying raw on the other? You’re likely dealing with uneven ash buildup or inconsistent flame patterns beneath your Dutch oven. These issues disrupt heat flow, creating hot spots that ruin evenly cooked meals. Ash piles up quickly, especially if you’re not raking coals regularly, insulating parts of the oven base and blocking radiant heat. Inconsistent flame patterns-often from poorly arranged logs or drafty fire pits-cause flickering, unpredictable temperatures. To fix this, rotate your oven every 15 minutes and periodically clear ash to expose the coals. Adjust log placement to stabilize airflow, ensuring flames lap uniformly under the pot. Use a fire grate to elevate fuel and promote even burning. These steps minimize temperature swings and vastly improve cooking performance. A well-maintained fire bed isn’t just convenient-it’s essential for reliable, outdoor culinary results.
On a final note
You’ve got the tools to build a fire that delivers steady, even heat under your Dutch oven. Proper coal placement, balanced top and bottom heat, and a two-zone setup give you control. Spacing coals adjusts temperature precisely, while troubleshooting hot spots guarantees consistent results. These methods outperform guesswork, offering reliability whether you’re baking or stewing. Mastering them elevates your outdoor cooking, making every meal predictable, flavorful, and efficiently cooked-essential for any serious BBQ enthusiast.