How to Use a Grill Light for Nighttime Outdoor Cooking Safety
Choose a grill light with at least 200 lumens and secure mounting-magnetic for stainless steel, clamp or adjustable bracket for other types. Mount it slightly above and to the side to avoid glare and shadows, ensuring even illumination over the cooking surface. Use hands-free operation with adjustable or voice-activated models for safety and control. Keep your light durable by cleaning grease, checking seals, and storing it indoors-this setup sharpens precision and keeps nighttime grilling safe, with more tips to fine-tune your setup waiting ahead.
Notable Insights
- Choose a grill light with at least 200 lumens and ensure it’s compatible with your grill type for reliable nighttime visibility.
- Securely mount the light using clamps, magnets, or brackets on a stable, weather-resistant attachment point to prevent shifting during use.
- Position the light slightly above and to the side of the cooking surface to minimize shadows and avoid glare on utensils or grates.
- Use adjustable or magnetic mounts to maintain a hands-free setup, allowing safe and precise cooking in the dark.
- Clean the light after each use, remove batteries when stored, and inspect seals regularly to ensure durability and performance.
Pick the Best Grill Light for Your Grill Type
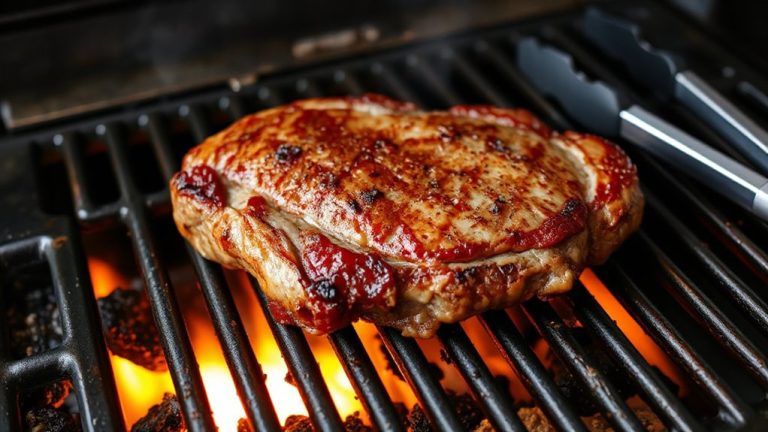
A good grill light makes all the difference when you’re cooking after dark, but not every model fits every setup-so choosing the right one for your grill type matters. You need to check grill compatibility before buying, since clamp-on lights might not fit kettle grills, and magnetic versions work best on stainless steel surfaces. If your grill has odd angles or thin edges, look for adjustable mounts. Light brightness is just as essential; aim for at least 200 lumens to clearly see sear marks and doneness without shadows. LEDs are ideal-efficient, cool-running, and long-lasting. Some models offer dimming or color modes, but bright white light usually gives the most accurate food color representation. While higher brightness improves visibility, it shouldn’t cause glare or hotspots. Choose a durable, weather-resistant design with easy battery access or rechargeable power. Balancing these factors guarantees a safe, effective lighting solution tailored to your grill. For reliable options, consider checking the best grill lights based on performance and user feedback.
Mount Your Grill Light for Stable Visibility
Getting the mount right means you won’t fumble in the dark or lose sight of your steak’s sear while managing flare-ups. You need stable visibility, and that starts with a secure attachment point-clamp, magnet, or bracket-depending on your grill model. Choose a light with solid weather resistance, since it’ll face heat, grease, and outdoor elements each time you fire up the grill. If it’s not built to endure moisture and temperature swings, it’ll fail when you need it most. Pay close attention to installation orientation: angle the light so it shines directly over the cooking surface without shifting during use. A poorly aligned fixture casts uneven light, even if the bulb is bright. Mount it too high, and you lose focus; too low, and splatter risks increase. Proper placement guarantees consistent illumination, improves safety, and extends the light’s lifespan through smarter, more durable use. Top-rated models often feature adjustable clamp designs for maximum flexibility across grill types.
Aim to Avoid Shadows and Glare
Every inch of positioning matters when directing your grill light, because even a slight misalignment can cast shadows across the cooking grates or create blinding glare that masks don’t just reduce visibility-they compromise safety. Angle your light slightly above and to the side to minimize shadows where you flip burgers or check doneness. Direct beam focus is useful, but excessive intensity without proper light diffusion can create harsh contrasts, making it hard to distinguish sear marks from burnt spots. Pair your grill light with ambient lighting nearby to balance overall visibility without over-relying on a single source. Look for models with diffuser panels or adjustable heads that spread illumination evenly. Avoid mounting the light directly in front of or behind you-this often causes glare off grill surfaces or your utensils. Intelligent placement, combined with thoughtful light diffusion, guarantees clarity, control, and safer nighttime cooking.
Use a Grill Light Hands-Free While Cooking
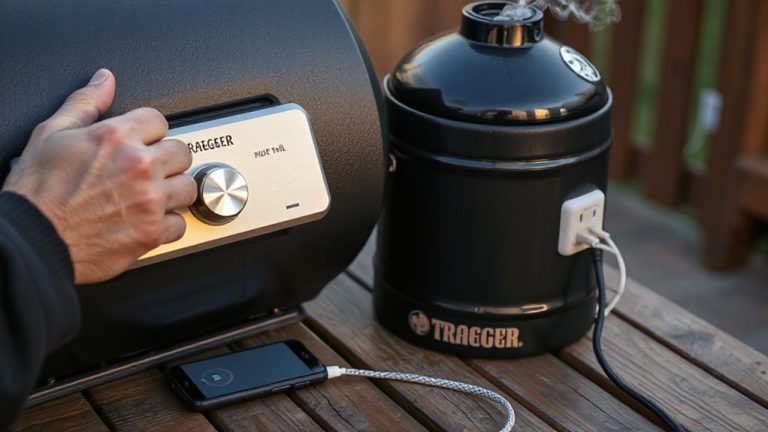
Mounting your grill light for hands-free operation isn’t just convenient-it’s a game-changer for safety and control during nighttime BBQ sessions. You’ll keep both hands free for flipping burgers or adjusting heat, reducing the risk of fumbling in the dark. Look for models with strong magnetic flexibility so you can stick the light securely to your grill’s metal hood, shelf, or side tables, adjusting the angle as needed. Some advanced options even offer voice activation, letting you turn the light on or off without touching anything-perfect when your hands are greasy or handling raw meat. This blend of magnetic flexibility and voice activation enhances efficiency, especially during complex grilling tasks. Hands-free lighting improves visibility precisely where you need it, minimizing shadows and maximizing precision. It’s not just about convenience; it’s about maintaining control, safety, and consistency every time you fire up the grill after sunset.
Keep Your Grill Light Working Season After Season
A well-maintained grill light can last for years, even with regular exposure to heat, grease, and the elements, so protecting its performance over time is essential. You should choose a model with strong weather resistance to withstand rain, humidity, and temperature swings-sealed housings and rubber gaskets help prevent water intrusion. Always remove batteries when the light’s not in use for extended periods; this simple step boosts battery longevity and prevents corrosion in the compartment. Wipe down the body after grilling to stop grease buildup, which can degrade materials over time. Inspect seals and connections before each season, and store the unit indoors during winter. While many grill lights are built tough, only those with thoughtful design and consistent care deliver reliable visibility year after year. Durability isn’t just about materials-it’s about how you maintain them.
Pair Grill Lights With Safe Nighttime Grilling Habits
While lighting up your grill is a smart move after dark, it’s only one piece of a safer nighttime cooking routine. You still need to follow smart practices that protect you and your guests. Good grill maintenance guarantees your equipment runs cleanly and efficiently-check burners, hoses, and grease trays regularly to prevent flare-ups or malfunctions. A well-lit cooking surface helps you see drips and hot spots, but it doesn’t replace proper temperature control and spacing. Pair your grill light with solid food safety habits: use a meat thermometer, avoid cross-contamination, and keep raw meats properly stored until cooking. Visibility helps, but it won’t compensate for undercooked food. Together, proper lighting, consistent maintenance, and science-based food handling form a practical system. Nighttime grilling can be both enjoyable and safe when you combine visibility with responsibility. For reliable performance in low light, consider using one of the best grill lighters recommended for durability and ease of use.
On a final note
You’ll cook more safely and efficiently at night by choosing a bright, weather-resistant grill light designed for your setup. Proper mounting and aim prevent glare and shadows, while hands-free use keeps you focused on the grill. Regular maintenance guarantees lasting performance. Paired with smart grilling habits-like keeping a fire extinguisher nearby and avoiding loose sleeves-your lighting system boosts control and confidence, making outdoor cooking both practical and safer after dark.