Seasoning Cast Iron Grills: Tips and Techniques for a Professional Finish
Scrub off grease and rust first-you’ll get better adhesion with a clean surface. Use a high-smoke-point oil like grapeseed or canola, since they polymerize well above 400°F. Apply a thin, even layer with a lint-free cloth, wiping off excess to avoid stickiness. Heat the grill to 450°F to cure the oil into a hard, slick finish. Let it cool gradually, then maintain it with light oil after each cook to build a long-lasting, professional-grade layer over time.
Notable Insights
- Thoroughly clean grates with a stiff brush or steel wool to remove rust and grease for optimal seasoning adhesion.
- Select high-smoke-point oils like grapeseed, canola, or flaxseed to ensure effective polymerization during heating.
- Apply a thin, even oil layer using a lint-free cloth, wiping off excess to prevent sticky or uneven seasoning.
- Heat grates to 400–450°F in an oven or on the stovetop to cure the oil into a durable, non-stick surface.
- After each use, wipe warm grates, lightly re-oil, and cool gradually to preserve and strengthen the seasoning layer.
Scrub Off Grease and Rust Before Seasoning
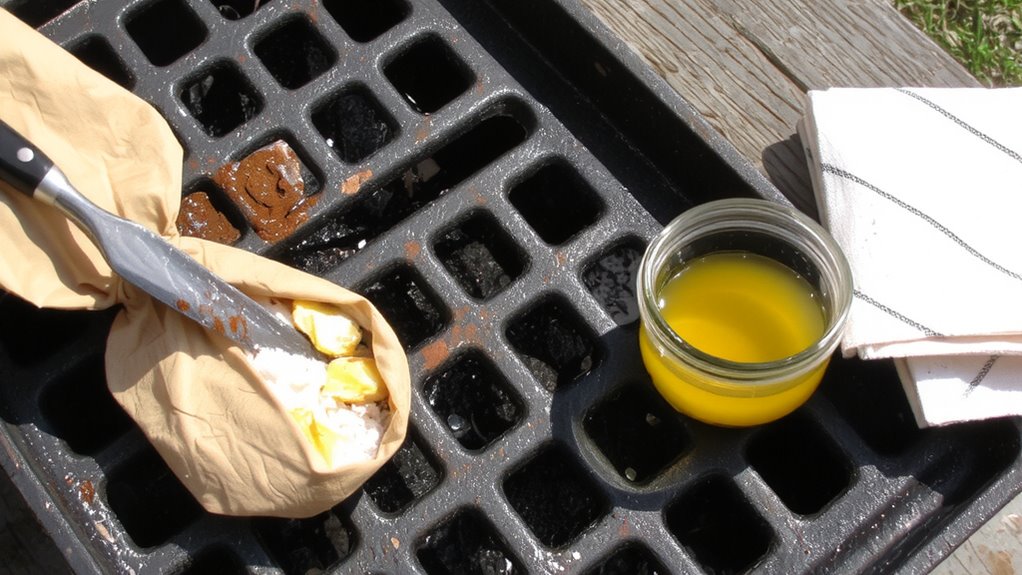
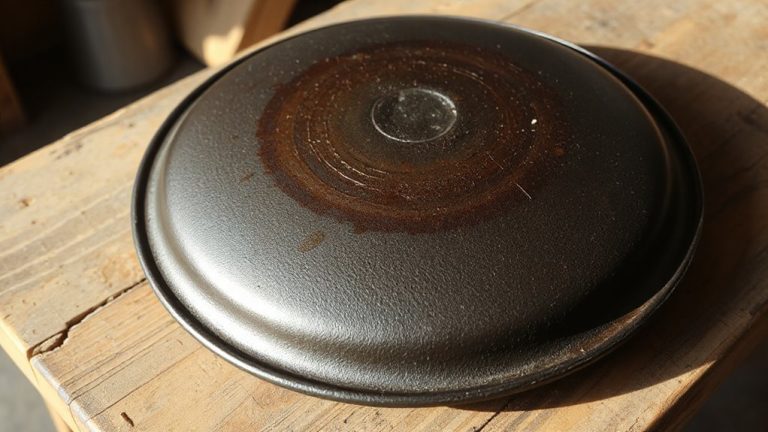
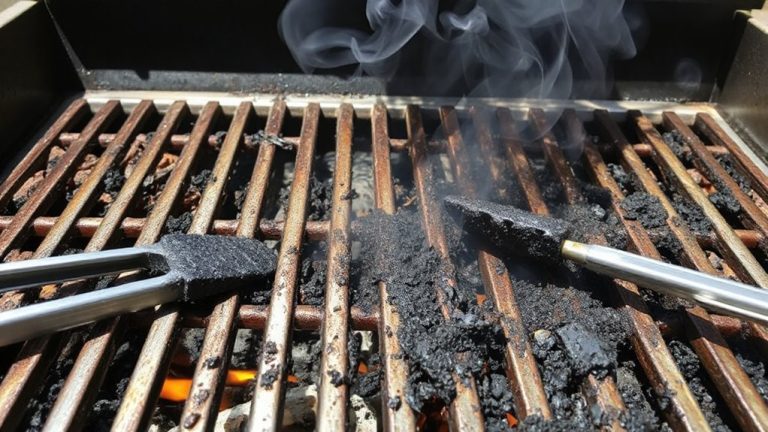
You’ll want to start by thoroughly cleaning your cast iron grill to guarantee the seasoning takes properly, because built-up grease and surface rust can interfere with adhesion and lead to uneven protection. Surface preparation is critical-without a clean, dry base, your seasoning won’t bond effectively. Use a stiff brush or grill scraper to remove grime, then follow up with steel wool or a fine abrasive pad for stubborn spots. For significant corrosion, rust removal with a vinegar soak or commercial rust dissolver works well, but rinse immediately and dry thoroughly to prevent flash rusting. A propane torch can help burn off old residue, though post-cleaning scrubbing is still necessary. Proper prep assures a smooth, durable finish that enhances heat retention and non-stick performance. Skipping this step risks flaking and poor flavor development during cooking. Investing time here pays off in longevity and consistent results on every BBQ.
Pick A High-Smoke-Point Oil For Best Results
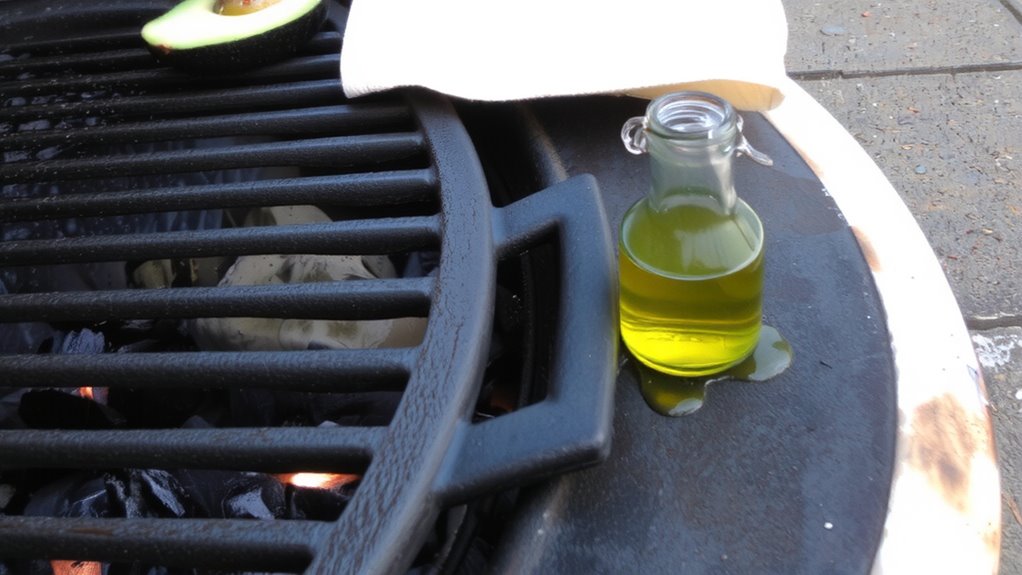
With the grill surface now clean and free of contaminants, attention turns to selecting the right oil for seasoning, a step that directly influences the durability and performance of the non-stick layer. You’ll want to pick an oil with a high smoke point-typically above 400°F-so it polymerizes effectively without burning. When oil types are compared, options like grapeseed, canola, and flaxseed stand out. Flaxseed oil creates a hard, glossy finish but can flake over time. Canola offers a reliable balance of performance and availability, with a smoke point around 400°F. Grapeseed oil, while pricier, provides excellent heat resistance and smooth bonding. Avoid olive oil or butter-low smoke point oils break down quickly under high grill heat, leading to uneven seasoning and sticky residues. Choosing wisely guarantees a resilient layer that withstands repeated use and high-temperature searing. For more guidance on heat-safe options, check out the top picks in best grilling oils.
Apply Oil In A Thin, Even Layer
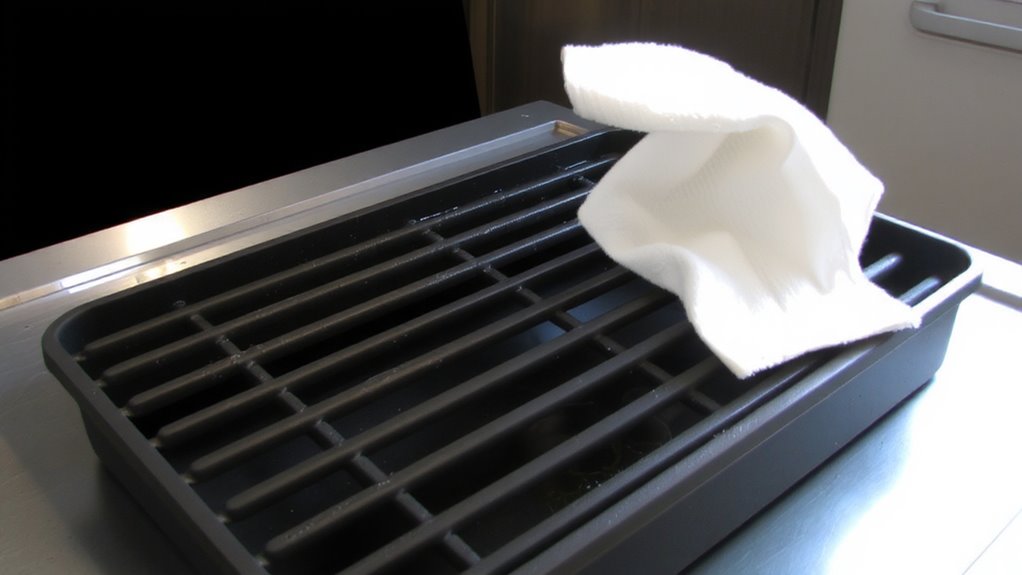
A thin, even coat of oil is essential for building a durable, non-stick seasoning layer on your cast iron grill. Your oil application directly affects the quality of the seasoning-too much leads to sticky buildup, while too little leaves bare spots vulnerable to rust. Use a high-smoke-point oil and apply it with a lint-free cloth, working in small sections to guarantee layer uniformity across the entire surface. Wipe off any excess aggressively; it’s better to under-oil than overdo it. This precision guarantees the oil polymerizes properly, forming a hard, slick finish. Uneven coats result in patchy seasoning, compromising performance and longevity. For consistent heat transfer and food release, layer uniformity isn’t optional-it’s foundational. With deliberate oil application, you’re not just protecting metal; you’re crafting a cooking surface that improves with every use. This attention to detail separates amateur grills from pro-level results. Best oils for seasoning ensure optimal polymerization and long-lasting protection.
Heat The Grill To Set The Seasoning
Once the oil is applied, heating the grill becomes the critical step that transforms a raw coat into a bonded, protective layer through polymerization. You’ll want to place the grill on a stovetop or in an oven and slowly bring it up to about 400–450°F. This sustained heat allows the oil to oxidize and harden, forming a slick, durable surface that enhances both smoke penetration and heat retention. Proper temperature control is key-too low, and the seasoning won’t set; too high, and the oil burns off, leaving patches. You should see a slight haze or shimmer, indicating the oil is curing, not smoking excessively. A well-seasoned cast iron grill delivers more consistent searing and better flavor development over time. This process isn’t instant-repetition builds depth, improving performance with each use. Effective seasoning supports even cooking and long-term durability, making it essential for serious outdoor cooking. For best results, consider using cookware specifically designed for grilling, such as top cast iron grills, which offer superior heat retention and even cooking surfaces.
Avoid Common Seasoning Mistakes
You might think slathering on extra oil will speed up seasoning, but too much grease is one of the quickest ways to ruin your cast iron grill’s surface. It leads to sticky, uneven buildup that flakes off under high heat. Instead, apply a thin, even coat-just enough to create a slick sheen. Another common error is improper cooling; letting your grill cool too quickly can cause microscopic cracks in the seasoning layer, weakening its durability. Always let it cool gradually, preferably with the burners off but the lid closed. Skipped maintenance is just as damaging. Neglecting to wipe down the grates after each use or ignoring dull patches invites rust and degradation. Over time, this compromises both performance and flavor. Consistent, mindful care prevents long-term damage and guarantees a nonstick, resilient finish. Avoid these missteps, and your grill will deliver even searing, easier cleanup, and better results with every cook.
Preserve The Seasoning After Every Cook
After every cook, nearly without exception, wiping down the grates should be your go-to move-residual moisture and food particles break down the polymerized layer over time, inviting corrosion and weakening the nonstick surface. Use a brass brush or folded paper towel to gently remove debris while the grill’s still warm, avoiding harsh scrubbing that damages the seasoning. To maintain patina, always apply a light coat of oil post-cleaning; this reinforces the protective barrier and enhances performance with each use. Over time, consistent care prevents buildup that could chip or flake during high-heat searing. Don’t soak or use detergents-those strip oils and degrade quality. A well-maintained grate heats evenly, resists rust, and improves flavor transfer. By preserving seasoning after every cook, you’re not just cleaning-you’re investing in longevity, ensuring your cast iron stays ready for peak outdoor performance.
On a final note
You’ve cleaned, oiled, and heated your cast iron grill properly-now it performs like a pro surface should. A well-seasoned grate delivers even heat retention, non-stick performance, and longevity. Avoid acidic foods and abrasive tools to preserve the layer. With high-smoke-point oil and thin, repeated coats, your seasoning builds durability. This routine isn’t just maintenance-it’s investment in flavor, function, and control every time you fire up the grill.