The Ultimate Guide to Building Your Own Offset Charcoal Smoker
You’ll need a food-grade steel barrel, at least 1/4 inch thick, to guarantee even heat and durability. Build a well-insulated firebox from mild steel and attach it securely with a 15–20 degree upward angle for smooth smoke flow. Use adjustable vents and a damper to fine-tune airflow, while a 4–6 inch chimney helps maintain steady draft. Install a dual-probe thermometer for precise monitoring, and test the system to balance temperature and smoke. You’ll soon discover how each detail affects flavor and control.
Notable Insights
- Use a food-grade steel barrel with at least 1/4-inch thickness for optimal heat retention and durability.
- Construct a well-insulated firebox from 1/4-inch mild steel and securely weld or bolt it to the cook chamber.
- Position the firebox opening at a 15–20 degree upward angle and ensure a full-penetration weld for leak-free smoke flow.
- Install adjustable intake vents on the firebox and a damper on a 4–6 inch diameter chimney for precise airflow control.
- Mount a dual-probe thermometer away from the firebox and test smoke draft to verify proper airflow and temperature accuracy.
Choose the Right Barrel for Your Offset Smoker
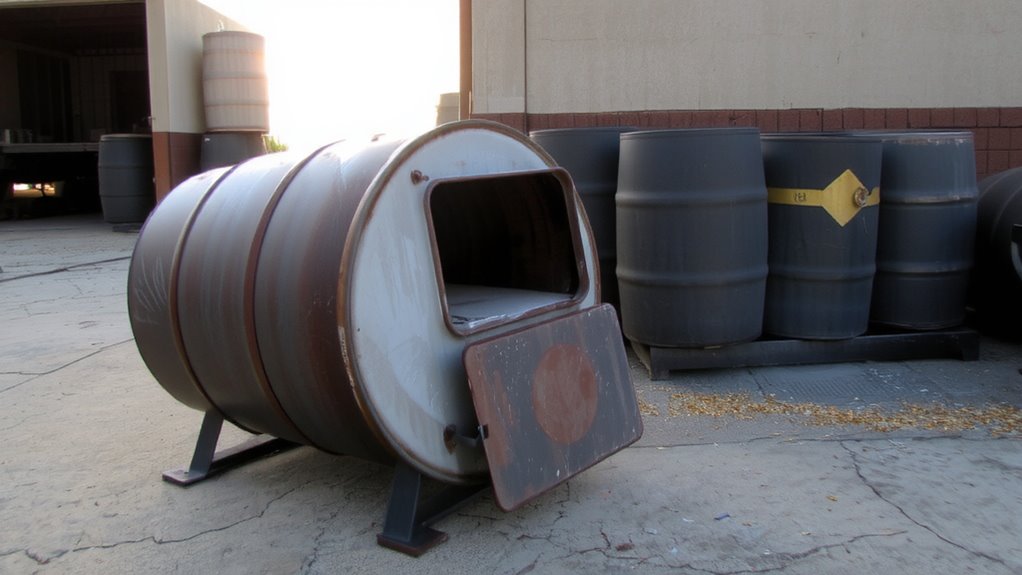
When it comes to building your own offset charcoal smoker, the barrel you choose isn’t just a container-it’s the heart of your cooking system. You’ll want to carefully evaluate barrel material, as food-grade steel is ideal for heat retention and durability. Avoid barrels that once held chemicals, since residual fumes can taint your food. Thickness considerations matter too-aim for at least 1/4 inch steel to guarantee even heat distribution and minimize warping over time. Thinner walls heat up quickly but struggle with temperature stability, especially in windy or cold conditions. A thicker barrel holds heat better, giving you more control during long smokes. While heavier barrels are harder to move, the trade-off in performance is worth it. Proper barrel selection sets the foundation for consistent results, smoke flavor, and build longevity-cornerstones of serious backyard barbecue.
Build and Attach the Firebox Securely
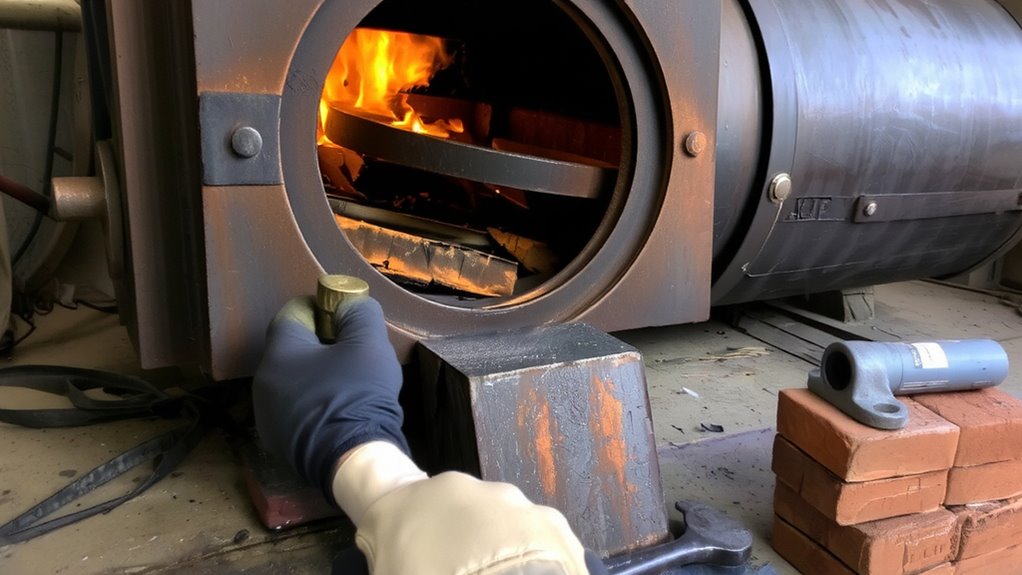
You’ve picked a solid barrel-thick-walled, food-grade steel, free of chemical ghosts-that’s going to hold heat like a champ and reward patience with even, steady smoke. Now it’s time to build and attach the firebox securely. A well-constructed firebox from mild steel, at least 1/4 inch thick, guarantees durability and consistent heat. You’ll want proper firebox insulation-like ceramic blanket or refractory board-to retain heat and protect surrounding materials. This boosts efficiency and makes temperature control easier. Secure mounting is critical; weld or bolt the firebox directly to the main chamber with full penetration to prevent leaks and warping. Misalignment or weak joints can create hot spots or airflow issues, undermining your cook. A rigid, tightly sealed connection keeps heat transferring smoothly into the smoke chamber. Done right, this foundation supports hours of low-and-slow cooking without stress. For optimal smoke flavor and temperature consistency, consider the design principles used in top-rated charcoal grill smokers.
Add Adjustable Vents and a Damper for Airflow Control
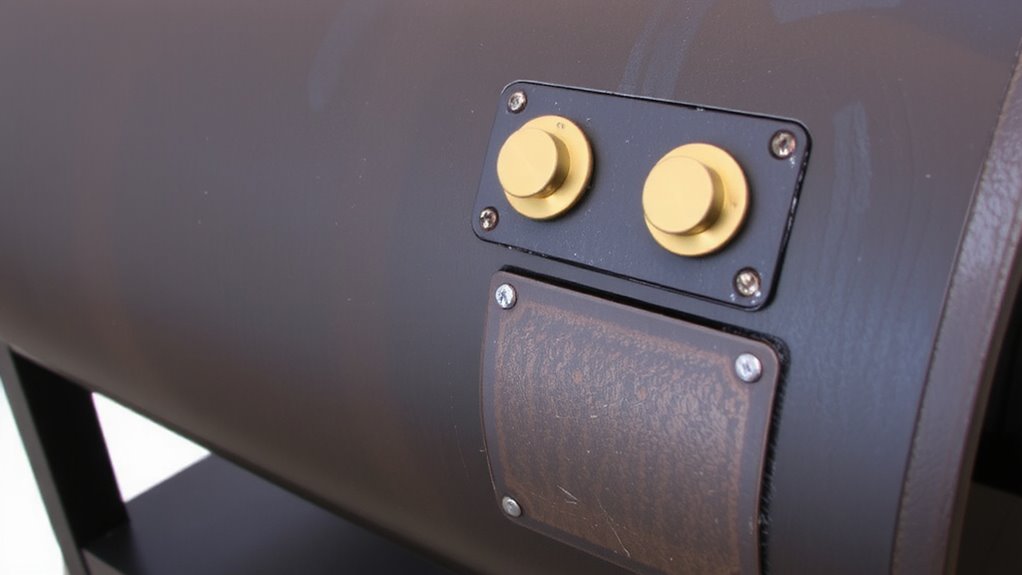
Though airflow might seem like a background player in the smoking process, getting it right makes or breaks your cook-too little and the fire chokes, too much and temperatures spike out of control. You need adjustable vents on the firebox and a damper on the smokestack to manage this. Proper vent placement guarantees balanced oxygen flow, helping maintain steady combustion. Position the intake near the fire’s base for maximum draw. The damper, mounted at the chimney’s exit, fine-tunes exhaust and boosts heat retention by reducing unnecessary airflow when temperatures drop. These controls give you precision, letting you hold 225°F for hours or push higher for searing. Without them, your smoker’s efficiency drops, costing you fuel and consistency. Good airflow control doesn’t just aid combustion-it stabilizes the environment inside, delivering better smoke quality, even cook times, and superior bark development on meats. For maximum flavor in your smoked roast beef, consider using a well-balanced best roast beef rub.
Cut the Firebox Opening and Weld the Chamber Joint
Now that you’ve set up the airflow system with adjustable vents and a damper, you’re ready to connect the firebox to the cooking chamber-the heart of your smoker’s thermal workflow. Accuracy in firebox dimensions guarantees consistent heat transfer and smoke flow. Use a plasma cutter or angle grinder to shape the opening, matching it precisely to your firebox size. Then, position the firebox at a slight upward angle into the cooking chamber. Secure it using proper welding techniques-MIG welding offers strong, clean joints, while TIG provides more control for tight seams. A well-welded joint prevents heat leaks and improves temperature stability. Refer to the table below for key setup metrics:
| Factor | Recommendation |
|---|---|
| Firebox diameter | 60% of cook chamber width |
| Joint angle | 15–20 degrees upward |
| Weld type | MIG or TIG for durability |
| Gap seal | Full penetration weld |
| Post-weld cleanup | Smooth shift surface |
Install a Thermometer and Chimney for Smoke Management
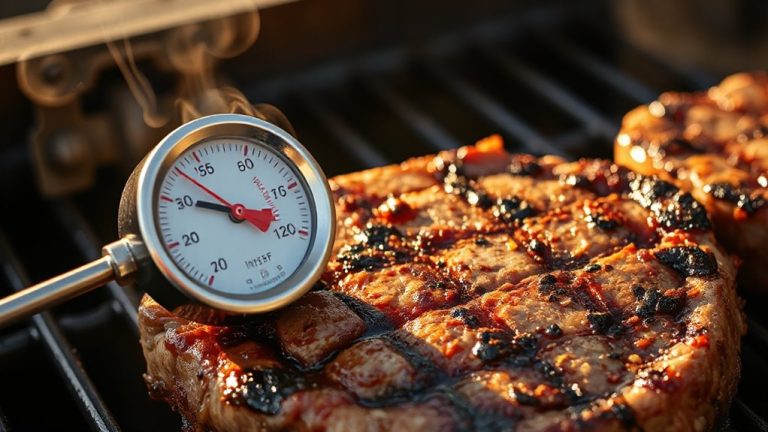
How do you know when your smoker’s hitting that sweet spot between 225°F and 250°F, the range where brisket renders fat just right and ribs develop a clean smoke ring? You install a reliable thermometer. Mount it on the main chamber’s door or side, away from the firebox, to accurately read ambient temperature. A dual-probe model lets you monitor both chamber and meat temps, improving heat retention control. Then, add a chimney-typically 4 to 6 inches in diameter-attached to the top rear of the cooking chamber. It creates steady draft, pulling smoke evenly through the meat while boosting fuel efficiency. The right chimney height-usually 30 to 36 inches-promotes consistent airflow without overheating. Together, these components give you real-time feedback and stable thermal performance. Skip them, and you’re guessing. Include them, and you’re managing smoke like a pro. For precise readings, consider using one of the best meat thermometers recommended by experts.
Test the Smoker Build and Adjust Airflow
What good is a meticulously built smoker if the airflow doesn’t perform as intended? You’ve got to test it before cooking anything important. Start with a small fire in the firebox and observe how smoke moves through the cooking chamber. If it crawls or stalls, you’ll need to tweak the dampers. Proper airflow guarantees steady heat retention and boosts fuel efficiency, meaning you’ll use less charcoal and maintain temps longer. Open the intake slightly and adjust the chimney damper until smoke flows smoothly-thin, blue, and fast-moving is ideal. Poor draft leads to uneven temps and wasted fuel. Remember, a well-balanced system pulls air efficiently from front to back, stabilizing the burn. Test multiple times under different conditions to confirm consistency. This step isn’t optional; it’s essential for reliable, predictable results every time you fire it up.
On a final note
You’ve built a durable, functional offset smoker capable of delivering consistent, low-and-slow heat ideal for brisket, ribs, and pork shoulder. Proper airflow control, thanks to your vents and damper, guarantees even combustion and smoke regulation. With the thermometer guiding temperature stability and the chimney expelling excess smoke, your cooker performs efficiently. Routine cleaning and inspection will maintain its performance, making this DIY smoker a reliable centerpiece for serious outdoor BBQ-offering both control and flavor you’d expect from high-end models.