Using a Fire Reflector Wall to Improve Campfire Cooking Efficiency
You can boost your campfire’s cooking efficiency with a fire reflector wall, which bounces radiant heat back toward you and your food. Built from stone, firebrick, or metal, it stabilizes temperatures and reduces fuel use. Set it 2–3 feet behind the fire in a gentle arc to concentrate warmth like an outdoor oven. It cuts down flare-ups and improves searing, roasting, and simmering. Position matters-angle it right, and you’ll see just how much better your open-fire meals can get.
Notable Insights
- A fire reflector wall redirects radiant heat toward the cooking area, increasing efficiency without extra fuel.
- Use stone, firebrick, or masonry to build a durable wall that absorbs and reflects heat effectively.
- Construct the wall 2–3 feet high and 3–4 feet wide in a gentle arc behind the fire.
- Position the wall 2 to 3 feet behind the fire and angle it at 45 degrees for optimal heat distribution.
- Pack gaps with clay or mud to block airflow and stabilize the structure for consistent cooking performance.
What Is a Fire Reflector Wall and How Does It Work?
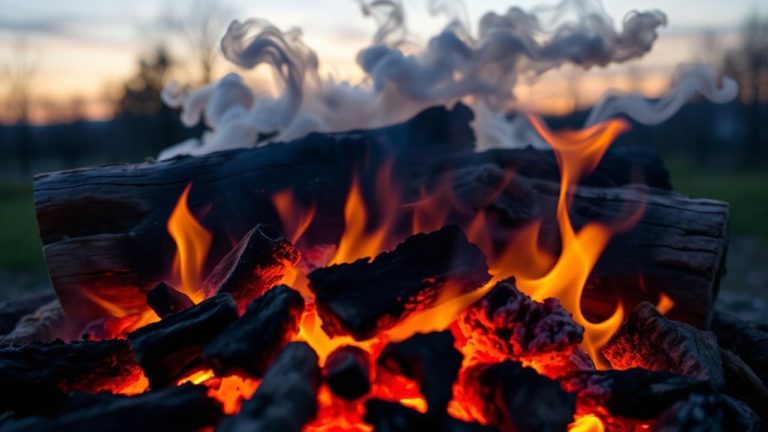
Picture standing at the edge of a crackling campfire, warmth on your face but your back chilled by the night air-that’s where a fire reflector wall earns its keep. You’ve built your fire against or near a vertical barrier, usually made of stone, masonry, or a sheet of metal, placed behind the flames. This wall doesn’t generate heat but boosts heat retention by reflecting radiant energy back toward you and your cooking area. Instead of letting warmth bleed into the dark, the wall redirects it, increasing efficiency. You’ll notice the difference immediately-less shivering, more even ambient warmth. Radiant energy that would’ve been lost now bounces off the solid surface, making your fire feel stronger without extra fuel. It’s a simple, time-tested trick, blending physics with practicality. When you’re cooking outdoors, that redirected heat isn’t just cozy-it’s functional, stabilizing temperatures for better results.
Why Use a Fire Reflector Wall for Campfire Cooking?
While you might think a campfire’s heat comes mostly from the flames themselves, much of its cooking power actually lies in radiant energy, and that’s where a fire reflector wall really shines. By bouncing heat back toward your cooking area, the wall boosts heat retention, making your fire more efficient and consistent. You’ll notice improved cooking control, especially when searing, roasting, or simmering over coals. Instead of relying solely on direct flame, you harness reflected warmth, reducing hot spots and flare-ups. That means fewer burnt edges and undercooked centers. In cooler or windy conditions, the reflector helps maintain stable temperatures, extending usable cooking time. It’s not just about trapping heat-it’s about directing it where you need it most. For camp cooks who value precision and efficiency, a reflector wall transforms unpredictable flames into something more like an outdoor oven. You’ll cook faster, more evenly, and with greater confidence.
What Materials Work Best for a Reflector Wall?
You’re already seeing how a fire reflector wall improves heat control and cooking consistency by redirecting radiant energy, but the material you choose makes a big difference in how well it performs. For best results, use materials with high heat retention and strong material durability, like sheet metal, stone, or firebrick. Sheet metal heats quickly and reflects efficiently but can warp over time. Stone absorbs heat slowly but holds it longer, providing steady warmth-ideal for slow cooking. Firebrick excels in both heat retention and material durability, resisting cracking under repeated thermal stress. Avoid wood or plastic-they’re unsafe and degrade fast. While aluminum reflects well initially, it doesn’t retain heat like denser materials. You’ll get the most reliable performance from a wall that balances quick response with sustained output. Choose wisely based on how long and how often you cook. A well-designed reflector wall can enhance your setup when paired with one of the best campfire grills for optimal outdoor cooking.
How to Build a Fire Reflector Wall Step-by-Step
A sturdy reflector wall starts with smart design and the right materials. Begin by propping large, flat rocks or stacking bricks in a gentle arc behind your fire pit. This shape helps direct warmth toward your cooking area, boosting heat retention. Pack gaps with clay soil or mud to prevent airflow breaches. For effective wind shielding, make certain the wall stands 2–3 feet high and runs 3–4 feet wide. Here’s how materials stack up:
| Material | Wind Shielding & Heat Retention |
|---|---|
| Stone/rock | Excellent |
| Brick | Very Good |
| Masonry blocks | Very Good |
| Green logs | Fair (deteriorates faster) |
| Metal sheet | Good (but can warp) |
Tamp soil around the base to stabilize. With this setup, you’ll get more consistent cooking temps and less fuel use. Maintain it between uses to preserve efficiency.
Where to Place Your Reflector Wall for Best Results
Positioning your reflector wall correctly makes a noticeable difference in cooking performance, building on the solid construction already discussed. You’ll want to place it directly opposite your fire, about 2 to 3 feet behind your cooking area, to maximize heat concentration. The ideal setup uses prime angles-tilting the wall at roughly 45 degrees-so it reflects warmth right onto your food instead of scattering it. This angle balances intensity and coverage, making your cooking more even and efficient. Don’t set it too close; you risk overheating one side while undercooking the other. A well-placed reflector directs radiant heat where it’s needed, turning a simple fire into a controlled cooking station. It’s not just about blocking wind-it’s about redirecting energy smartly. With the right placement, you’ll see real improvements in how consistently your meals cook, especially in cooler or breezy conditions.
How to Cook Better With a Reflector Wall
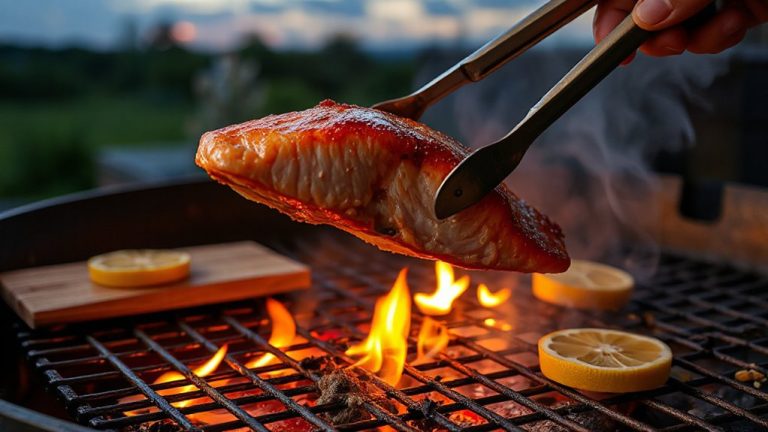
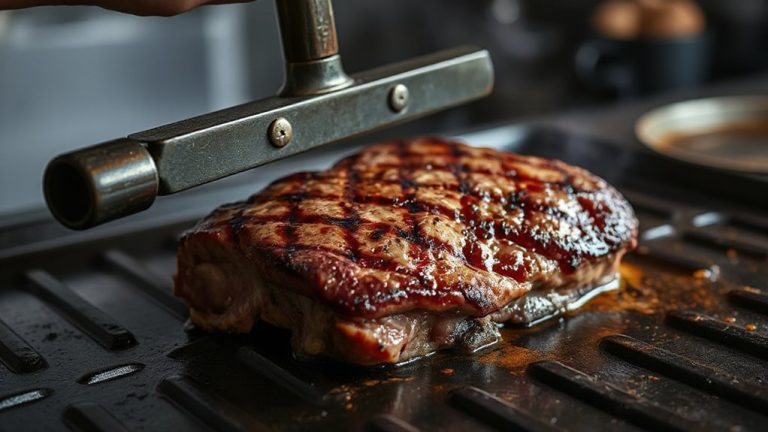
Why settle for unevenly cooked meals when a simple adjustment can transform your campfire setup? Positioning a reflector wall behind your fire redirects radiant heat toward your cooking surface, dramatically improving heat distribution. Instead of relying solely on direct flames, you harness consistent, ambient warmth that reduces scorching and prevents undercooked spots. You gain far better cooking control, especially when using a grill or skillet at a moderate distance from the fire. The reflected heat acts like an outdoor oven, allowing for roasting, simmering, or even baking with careful adjustments. You’ll notice food cooks more evenly and retains moisture better than over open flames alone. For best results, angle the wall slightly inward and use durable, heat-resistant materials like sheet metal or stacked stones. With practice, you’ll optimize positioning and fuel use, making every outdoor meal more predictable and satisfying.
On a final note
You’ll find a fire reflector wall boosts heat efficiency by radiating warmth toward your cooking area, cutting fuel use and cook time. It’s simple to build with rocks or metal, and when placed behind the fire, it stabilizes temperatures-ideal for slow-roasting or simmering. Though it needs careful setup to avoid hazards, its performance in retaining and directing heat makes it a reliable upgrade for serious campfire cooking.