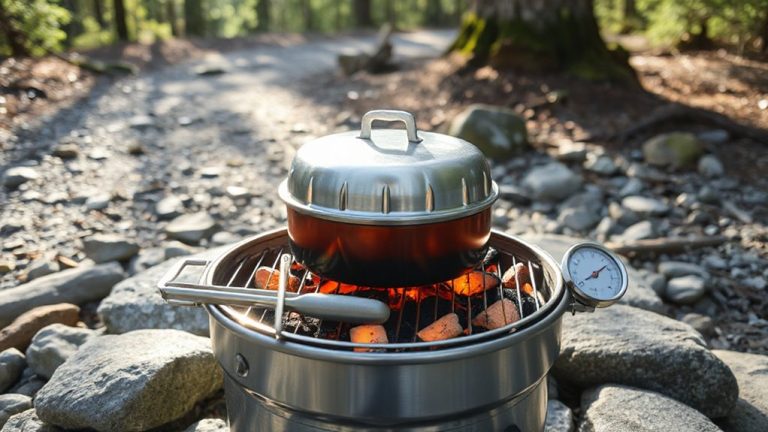
How to Convert an Old Weber Kettle Into a DIY Pizza Oven Using Refractory Materials
You’ll start by stripping your Weber kettle to bare metal, then build a firebrick chamber in the base using a staggered pattern for maximum heat retention. Wrap it in ceramic fiber insulation to boost efficiency and protect the steel. Add intake and exhaust vents for airflow control, seal gaps, and cure the oven gradually. With proper materials, it’ll hit 700°F fast and hold heat like a professional oven-perfect for crispy wood-fired pizza in minutes. There’s more to optimizing performance than just the build.
Notable Insights
- Use firebricks in a staggered pattern inside the kettle to create a heat-retaining chamber for even cooking.
- Wrap the firebrick chamber with ceramic fiber insulation to minimize heat loss and protect the kettle.
- Seal the kettle’s gaps and repaint with high-heat resistant paint to improve thermal efficiency and safety.
- Install adjustable bottom intake and top exhaust vents to control airflow and maintain 600°F+ temperatures.
- Test the oven with a small fire, using an infrared thermometer to verify dome heat reaches 600–700°F in under 45 minutes.
Gather Tools and Materials for a Weber Pizza Oven
To get started, you’ll need a solid set of tools and materials that transform your Weber kettle from a standard grill into a functional pizza oven. For effective DIY modifications, gather firebricks, ceramic fiber insulation, and a high-temperature adhesive-these handle thermal stress better than standard alternatives. A sturdy steel angle ring or custom lid insert helps maintain structural integrity under intense heat. You’ll also want a reliable infrared thermometer and a good pair of heat-resistant gloves. Material sourcing matters: while hardware store options may seem convenient, specialty suppliers offer refractory materials with proven performance at 900°F+, critical for authentic Neapolitan crusts. Avoid cheap substitutes-they compromise efficiency and safety. Thoughtful selection guarantees even heat retention and long-term durability, making your outdoor cooking experience more consistent and enjoyable. Proper tools and smart sourcing lay the foundation for a successful conversion.
Prepare Your Weber Kettle for Conversion
You’ve gathered the right materials-now it’s time to focus on the grill itself. Begin by stripping the old paint finish with a heat gun or chemical stripper, since high temperatures can release toxic fumes from standard coatings. A clean, bare metal surface guarantees better heat retention and safety during prolonged use. Inspect the bowl and lid for warping; proper lid alignment is essential for temperature control and efficient heat circulation. Misalignment can cause hot spots or uneven cooking, which undermines pizza oven performance. Sand down any rust and consider applying high-heat resistant paint if you plan to keep the exterior looking sharp. While aesthetics matter, function comes first: sealing gaps and making certain the lid closes snugly directly impact your oven’s ability to reach and maintain 700°F. This prep work sets the foundation for reliable, restaurant-quality results.
Build the Firebrick Fire Chamber
A solid fire chamber makes all the difference when turning your Weber kettle into a high-heat pizza oven. You’ll want to lay firebricks in a tight, circular firebrick arrangement across the base, ensuring each piece fits snugly against the next. This setup improves heat retention, allowing the oven to stabilize at consistent, high temperatures-essential for blistering thin-crust pizzas. Use flat firebricks in a herringbone or staggered pattern to prevent shifting during use. The bricks absorb and radiate heat evenly, mimicking professional wood-fired ovens. Avoid gaps, since they create hot spots and reduce efficiency. You’re not just building a base-you’re creating a thermal core. With proper firebrick arrangement, you’ll achieve better heat retention, faster cook times, and superior crust development. It’s a foundational upgrade that directly impacts performance. Skip the shortcuts here; this layer earns its keep every time you fire it up.
Insulate With a Ceramic Fiber Blanket
The Weber kettle’s newfound heat potential hinges on effective insulation, and that’s where your ceramic fiber blanket comes in. Wrapping the firebrick chamber with this material dramatically improves heat retention, keeping temperatures stable for consistent baking. Ceramic fiber blankets withstand over 2,000°F, making them ideal for trapping intense oven heat. You’ll notice a clear jump in thermal efficiency-less fuel is wasted, and preheating takes less time. Secure the blanket snugly around the chamber using stainless steel wire or high-temp tape, ensuring no gaps. This step isn’t optional if you want real wood-fired results; without it, too much heat escapes through the steel walls. Think of it as a thermos for your fire: the better the insulation, the more evenly your pizza cooks. Proper insulation also protects the outer kettle, prolonging its life despite repeated high-heat cycles.
Set Up Ventilation and Add a Door
Now that you’ve locked in the heat with a quality ceramic fiber wrap, it’s time to control how air moves through your modified kettle. Proper ventilation is vital for heat control and efficient airflow management. Start by drilling a 2-inch hole near the bottom of the kettle-this will serve as your air intake. Install a small steel door over it to regulate incoming oxygen. Then, cut a similar opening at the top for exhaust, attaching a short steel pipe with a damper to fine-tune smoke exit. This balanced system lets you maintain consistent temperatures, essential for baking pizza at 600°F+. Without these modifications, you’ll struggle with temperature swings and incomplete burns. A well-sealed, adjustable door on the firebox also improves efficiency, letting you add fuel without losing heat. Smart airflow management doesn’t just boost performance-it makes your DIY oven far more predictable and enjoyable to cook with.
Test Your Weber Pizza Oven
Why wonder if your改造 is ready when you can fire it up and see for yourself? Start with a small fire to check airflow, insulation, and structural integrity-your refractory lining should retain heat efficiently. Monitor temperature control closely using a reliable infrared thermometer; the dome should reach and stabilize between 600°F and 700°F within 30–45 minutes. Notice how evenly the heat distributes-minimal hot spots mean your build succeeded. Always follow safety precautions: wear heat-resistant gloves, keep a fire extinguisher nearby, and operate the oven on a non-flammable surface. Avoid overloading with fuel early on. This test isn’t about cooking yet-it’s about evaluating performance under real conditions. Proper draft, steady temperatures, and secure components all signal readiness. If something feels off, troubleshoot before proceeding. This step guarantees durability, efficiency, and safe operation for every future bake.
Master Your First Wood-Fired Bake
A well-tuned Weber kettle, transformed into a functional pizza oven, delivers intense radiant heat that mimics the performance of traditional wood-fired ovens-just don’t expect flawless results on your first try. You’ll need to manage the fire carefully to maintain consistent heat retention, which is essential for even cooking and proper crust char. Start with a small, hot fire using dry hardwood, letting the refractory materials absorb and radiate heat over 30–45 minutes. Once the dome reaches 650–750°F, it’s ready. Slide your pizza in with a peel, rotating it frequently for even exposure. Watch closely-cooking takes just 2–4 minutes. The wood smoke enhances flavor development far beyond gas or electric methods, giving your crust a subtle, smoky depth. Don’t rush; each bake teaches you more about airflow, fuel load, and temperature balance. With practice, you’ll master timing and technique, turning out restaurant-quality pies in your backyard.
On a final note
You’ve now transformed a basic Weber kettle into a functional, high-heat pizza oven using firebrick and ceramic insulation. This DIY setup reaches 700°F, ideal for Neapolitan-style pizzas with crisp crusts and charred edges. While it demands attention to airflow and fuel management, its efficiency and thermal performance rival pricier models. With proper maintenance-ash cleanup and blanket protection-your oven delivers consistent, restaurant-quality results, elevating backyard cooking into a precise, rewarding craft.