Why Thick-Cut Steaks Benefit From a Two-Step Sear-Rest-Sear Technique Across Zones
You’re better off using a two-step sear-rest-sear method for thick-cut steaks because a single sear can’t overcome surface moisture and uneven heat penetration. Starting with indirect heat gently brings the interior to just below target temp, preserving juices. Resting stabilizes the temperature, minimizing cold spots. Then, a final high-heat sear develops a deep, flavorful crust via the Maillard reaction. This technique maximizes control and consistency-especially on the grill. There’s more to master when working across heat zones.
Notable Insights
- Thick steaks retain surface moisture that hinders browning, making a single sear ineffective for consistent crust development.
- Cooking indirectly first dries the surface and raises internal temperature evenly, setting ideal conditions for a later sear.
- Pausing mid-cook allows temperature stabilization and carryover cooking, preventing overdone centers in thick cuts.
- A final high-heat sear across zones triggers the Maillard reaction on a dry, hot surface for deep flavor and char.
- Using a thermometer and proper tools ensures precision, control, and optimal crust formation without guesswork.
Why One Sear Isn’t Enough for Thick Steaks
While a single sear might seem sufficient, it often falls short when you’re working with thick-cut steaks over 1.5 inches. You need that deep, rich crust from the Maillard reaction, but surface moisture on the steak can inhibit browning, making your first sear inconsistent. Even after drying, the interior juices migrate outward during cooking, dampening the surface and weakening browning potential. That’s why one pass isn’t enough-you lose the ideal searing environment too quickly. By searing, resting, then searing again, you reactivate the Maillard reaction when the surface is drier and more receptive. It’s not just about color; it’s about layering flavor. This method consistently outperforms a single sear in both backyard tests and professional kitchens. For thick steaks, a two-step sear isn’t overkill-it’s necessary for maximum crust and taste.
Cook Thick Steaks With Indirect Heat First
Because thick steaks need precise temperature control to cook evenly without burning the exterior, starting them over indirect heat is one of the most effective strategies in outdoor grilling. You’re fundamentally setting up for reverse searing-letting the steak come to thermal equilibrium slowly, away from direct flames. This method gives you far more control, especially with cuts over 1.5 inches thick. Instead of risking a charred surface and raw center, you gently raise the internal temp until it’s just shy of your desired doneness. Most experts find this approach delivers a more consistent edge-to-edge cook. Plus, since the meat heats gradually, there’s less moisture loss. Once it’s close to target, you sear it over high heat to develop that rich crust. Doing it this way isn’t just practical-it’s a smarter use of your grill’s zones, and it shows how understanding heat dynamics improves results.
Pause Mid-Cook to Stabilize Internal Temperature
Once your steak’s reached about 10–15°F below your target final temperature, moving it away from the heat to rest for a few minutes isn’t just a pause-it’s a strategic step that pays off. This mid-cook rest lets the meat approach thermal equilibrium, where heat distributes more evenly from the exterior to the center. That means fewer cold spots and a more consistent doneness. Plus, you’re accounting for carryover cooking-the internal temp keeps rising even off the heat, usually by 5–10°F. Skipping this rest risks overcooking, especially with thick cuts over an inch. In outdoor cooking, where flare-ups and uneven zones are common, this pause gives you control. You’re not guessing; you’re managing heat physics. Letting the steak rest mid-cook stabilizes the process, making the final result more predictable and precise. It’s a small delay with a big payoff in accuracy.
Finish With a High-Heat Sear for Crust
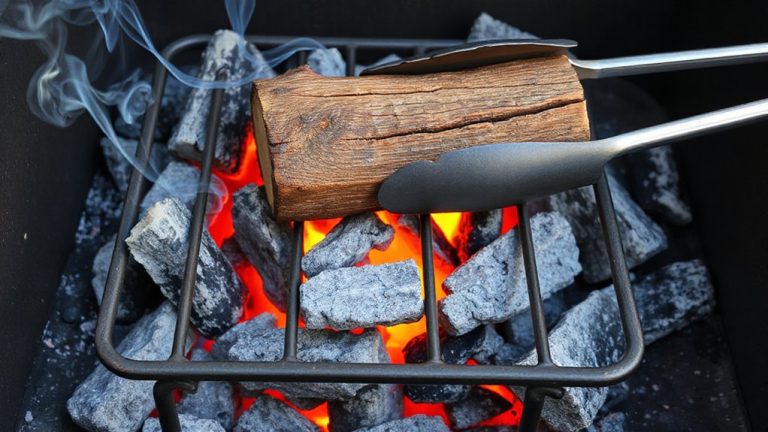
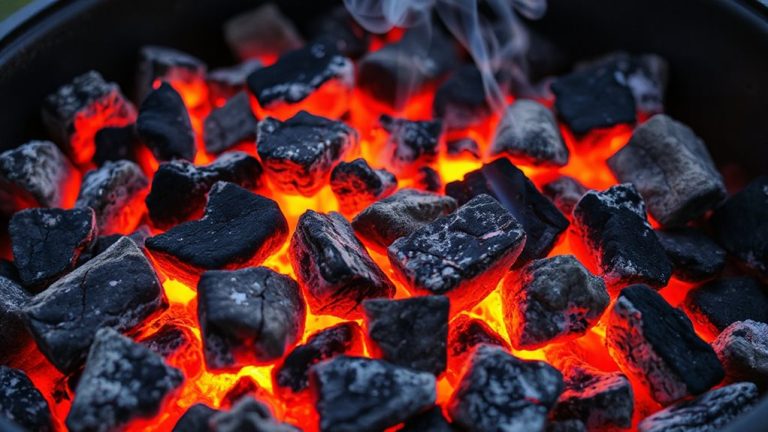
You’ve let the steak rest mid-cook, giving the heat time to equalize through the center and account for carryover, so now it’s time to lock in that perfect doneness with a final blast of high heat. Move the steak to the hottest zone-charcoal’s sear grate or a screaming cast-iron skillet. This stage triggers the Maillard reaction, building complex flavor and that coveted surface char without overcooking the interior. Visual cues matter: deep browning, audible sizzle, and a faint smoke signal success. Watch for flare-ups, but don’t flinch-controlled charring enhances depth.
| Visual Cue | What It Tells You |
|---|---|
| Glossy black edges | Developing surface char |
| Loud sizzle | Active Maillard reaction |
| Light smoke | Ideal sear temperature reached |
This crust isn’t just flavor-it’s texture, contrast, and proof of precise execution.
Tools and Timing for Perfect Results Every Time
I’ve found the right tools make all the difference when you’re aiming for that ideal sear after resting your steak-skip the flimsy spatula and lightweight tongs, and go for a heavy-duty, restaurant-grade set with a secure grip; they give you control without tearing the meat or sacrificing precision near intense heat. A thick-cut ribeye needs consistent contact with a scorching surface, so a preheated cast iron skillet delivers superior browning compared to standard pans. When using a grill, keep the lid down during the final sear to trap radiant heat, ensuring even crust development. Timing is critical: 60 to 90 seconds per side usually suffices. Use an instant-read thermometer-don’t guess-to avoid overcooking. These tools and intervals aren’t just convenient; they’re essential for replicating restaurant-quality results with reliable, repeatable precision every time you cook. For optimal searing performance, consider a best pan for steak that retains heat evenly and builds a robust crust.
On a final note
You’ll get better results searing, resting, then searing again. This two-step method guarantees even doneness without overcooking edges. Indirect heat gently raises the core temperature, while the rest stabilizes carryover. Final high-heat sear develops a crisp, flavorful crust. It demands attention, but with a reliable thermometer and properly managed zones, the technique outperforms a single sear-especially on cuts over 1.5 inches. Precision beats guesswork every time.