A Comprehensive Breakdown of Dry-Aging Beef at Home With DIY Equipment
You can dry-age beef at home with a dedicated mini-fridge, temperature controller, and a small fan for airflow. Keep temps between 34°F and 38°F, humidity at 75–85%, and use charcoal filters to control odors. Choose USDA Prime ribeyes or strip loins for best marbling. Pat dry, place on a wire rack, and age 21–45 days for deeper, nuttier flavor. Avoid common mistakes like poor air circulation or inconsistent temps-and discover how each detail transforms your steak.
Notable Insights
- Use USDA Prime or high-choice, well-marbled subprimals like ribeye or strip loin for best dry-aging results at home.
- Maintain a stable aging environment between 34°F and 38°F using a dedicated fridge with a temperature controller.
- Ensure consistent airflow with a small fan and monitor humidity between 75% and 85% using a digital hygrometer.
- Prevent spoilage and odors by using activated charcoal filters and rotating the meat daily during aging.
- Age beef for 21 days for enhanced tenderness or 30–45 days for deeper umami flavor, then trim and portion.
Why Dry-Age Beef at Home?
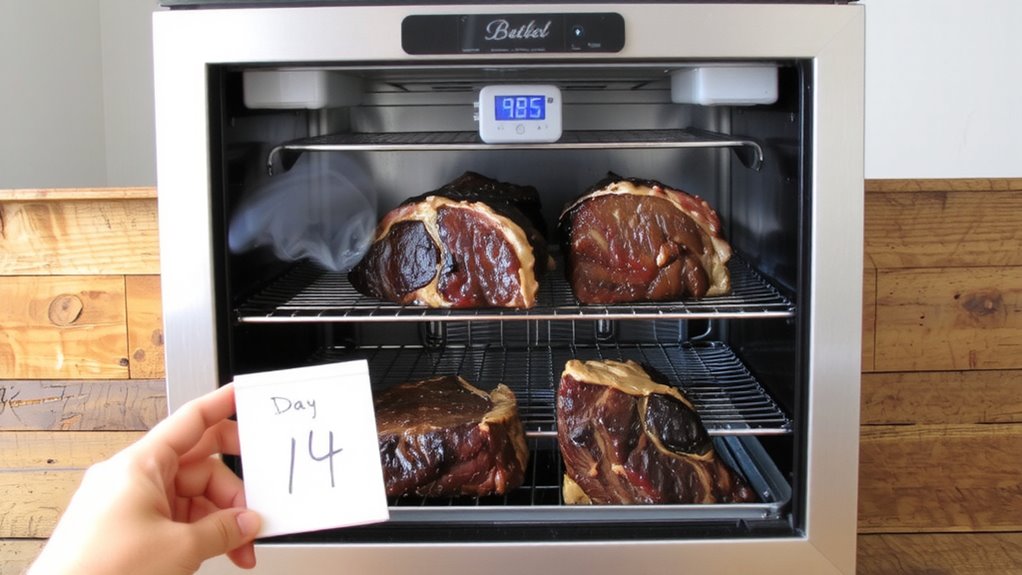
Why settle for store-bought steak when you can transform ordinary beef into something extraordinary in your own refrigerator? Dry-aging at home offers serious flavor enhancement through enzymatic breakdown and moisture loss, yielding a rich, nutty depth that stores can’t replicate. You’re not just buying beef-you’re crafting it. With controlled airflow, humidity, and temperature, your fridge becomes a precision tool. And let’s talk cost savings: buying whole subprimals in bulk slashes long-term expenses, especially when compared to pre-aged retail cuts marked up for convenience. You trim waste, control aging time, and use household equipment-no specialty gear required. Sure, it takes planning, but the payoff is tender, complex beef tailored to your taste. It’s not just cooking; it’s optimizing quality and value. When done right, home dry-aging delivers restaurant-grade results, minus the markup. You’re not cutting corners-you’re raising the standard.
Best Beef Cuts for Dry-Aging at Home
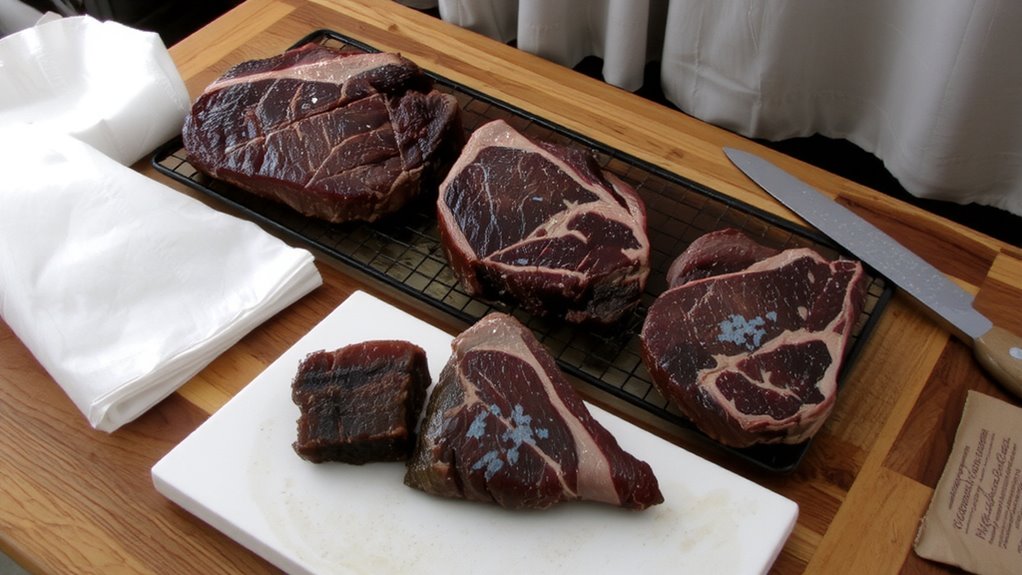
You’ve decided to take control of flavor and cost by aging your own beef, and now the real question comes down to what cut to start with. Beef selection is critical-your best bets are large, well-marbled cuts like ribeyes, strip loins, or entire short loins. These primal cuts offer superior cut quality, with enough fat and muscle mass to withstand the dry-aging process without excessive waste. Smaller or leaner cuts dry out too quickly, sacrificing tenderness and depth. Aim for USDA Prime or high-choice grades for maximum marbling, which enhances flavor concentration after moisture loss. While chuck or rounds can work, they’re less consistent. Larger cuts also give you flexibility to trim and portion after aging, ensuring best results. With proper airflow and time, these cuts develop nutty, earthy notes that elevate grilling and searing. Your cut quality directly impacts the final outcome-choose wisely, and your efforts will yield restaurant-grade results. For steak lovers, selecting the right best beef cut steak can make all the difference in both flavor and texture.
Build a DIY Dry-Aging Setup at Home
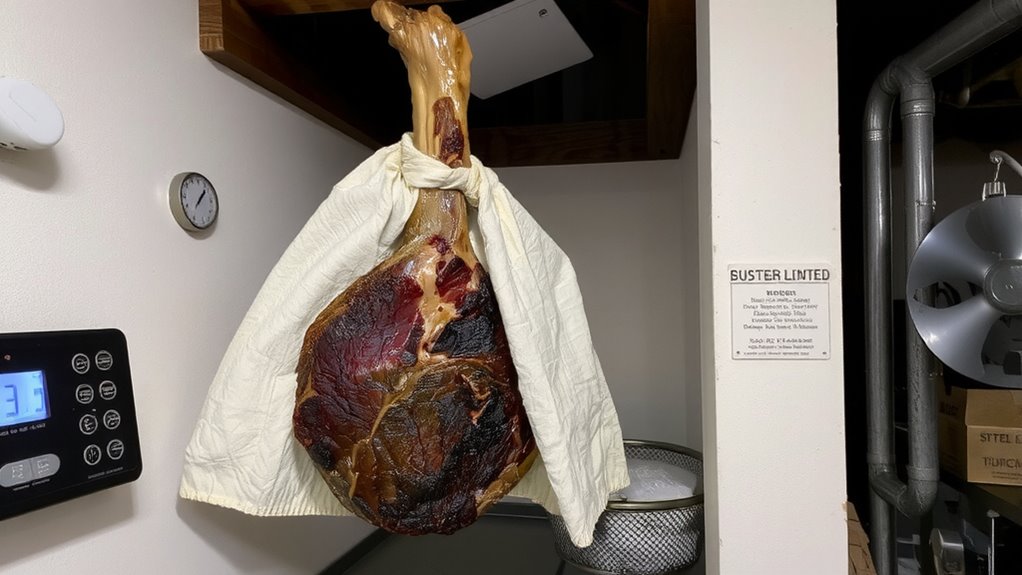
While commercial dry-aging lockers can cost thousands, you can build a reliable DIY setup at home for a fraction of the price-provided you maintain strict temperature, humidity, and airflow controls. Start with a dedicated mini-fridge or wine cooler, modifying it with a temperature controller to keep temps between 34°F and 38°F-critical for safe, effective aging. Install a small fan for consistent airflow management, which helps dehydrate the meat evenly and prevents mold hotspots. Use activated charcoal filters to reduce odors and maintain air quality. A digital hygrometer will let you monitor humidity, ideally between 75% and 85%. This setup isn’t flawless-space is limited, and fluctuations can occur-but with careful calibration, temperature control and airflow management make it surprisingly effective. It’s not for everyone, but if you’re serious about flavor development, the effort pays off.
Dry-Age Beef at Home: Step-by-Step
Once you’ve assembled your DIY dry-aging setup, the real work begins-preparing and monitoring the beef with precision. Start with proper beef selection: choose a thick-cut, bone-in primal like a ribeye or strip loin, preferably USDA Prime or high-choice grade, for ideal marbling and texture. Pat the cut dry, then place it on a wire rack over a tray to guarantee airflow. Set your fridge to 34–36°F with 75–85% humidity. Monitor the aging timeline closely-21 days develops nutty, tender qualities, while 30–45 days deepens funk and umami. Rotate the tray daily and inspect for harmful mold. The aging timeline isn’t just about duration; it’s about consistency in temp, airflow, and hygiene. Properly managed, home dry-aging produces results rivaling high-end steakhouses, though it demands discipline. Success hinges on your vigilance, setup reliability, and starting with quality beef selection.
Dry-Aging at Home: Mistakes to Avoid
Why do some home dry-aging attempts yield exceptional steak while others end in spoiled meat or unpleasant flavors? You’re likely overlooking critical factors like airflow, humidity, and sanitation. Allowing unwanted mold growth is a common error-while some surface molds are safe and even beneficial, others indicate contamination due to poor temperature control or unclean gear. You need consistent air circulation to prevent moisture buildup, which invites spoilage. Equally important is odor control; your fridge or aging chamber can absorb meaty smells, cross-contaminating other foods. Use activated charcoal filters or baking soda trays to manage this. Skipping regular monitoring is another misstep-check daily for off-putting odors or slimy textures. Patience matters, but so does precision. Keep temps between 34–38°F and humidity around 75–80%. Avoid these mistakes, and you’ll achieve the tender, flavorful beef dry-aging promises.
On a final note
You’ve made dry-aged beef at home, and it shows what careful control can achieve. With the right cut, airflow, and humidity, your DIY setup delivers depth of flavor and tenderness comparable to high-end steakhouses. It’s not risk-free-temperature swings or poor airflow invite spoilage-but when managed well, the results justify the effort. This method isn’t for everyone, yet for the committed, it’s a rewarding blend of precision and patience.