Step-by-Step Instructions on Setting Up a Pellet Grill for Beginners
Unbox and assemble your pellet grill carefully, following the manual to guarantee all parts fit securely. Plug it into a GFCI-protected outlet, then test the auger and fan. Fill the hopper with fresh, high-quality hardwood pellets, avoiding moisture and debris. Season the grill by running it through set temperature phases to burn off residues. After cooling, cook a simple meal to gauge heat control and smoke performance. Clean the grates, empty the ash and grease trays, and keep components clear-this routine guarantees reliability and flavor that improves with each use.
Notable Insights
- Unbox and assemble the grill completely, following the manual to attach legs, hopper, and cooking chamber securely.
- Plug the grill into a GFCI-protected 120V outlet and test auger and fan operation before first use.
- Fill the hopper with fresh, dry hardwood pellets, leaving space for airflow and avoiding overfilling.
- Season the grill by running it at increasing temperatures up to 450°F for 45 minutes to burn off residues.
- After seasoning, clean the grill by removing ash, wiping surfaces, and emptying the grease tray.
Unbox and Assemble Your Pellet Grill
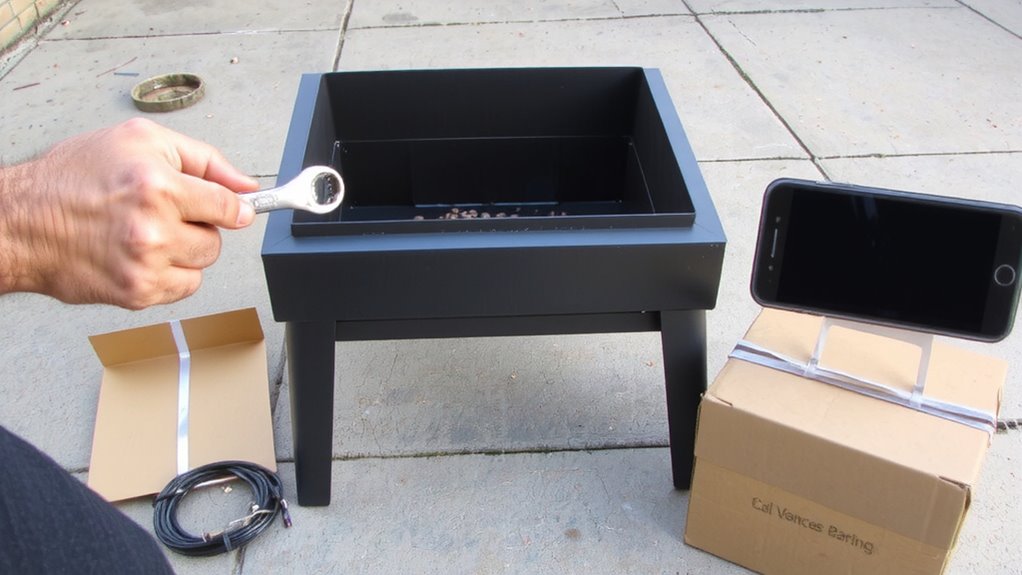
Once you’ve chosen your pellet grill, unboxing and assembling it is the first step toward accessing consistent, smoke-rich flavor in your outdoor cooking-so it’s worth doing right. Carefully remove all components and check them against the manual; missing parts can delay your first cook. Follow the instructions precisely-aligning the cooking chamber, attaching the legs, and securing the hopper. Most models require a standard 120V power connection, so guarantee your outlet is nearby and GFCI-protected for safety. Once assembled, plug it in to test the auger and fan operation. Don’t skip warranty registration-many brands extend coverage only if you register within 30 days, which also speeds up support if issues arise. Proper assembly guarantees temperature stability and long-term durability, directly influencing how evenly your steaks sear or how well your ribs absorb smoky depth. It’s a foundational step that impacts every future BBQ. For insight into which models combine durability and performance, check out a comprehensive review of the best pellet grills.
Load Your Pellet Grill’s Hopper With Fresh Pellets
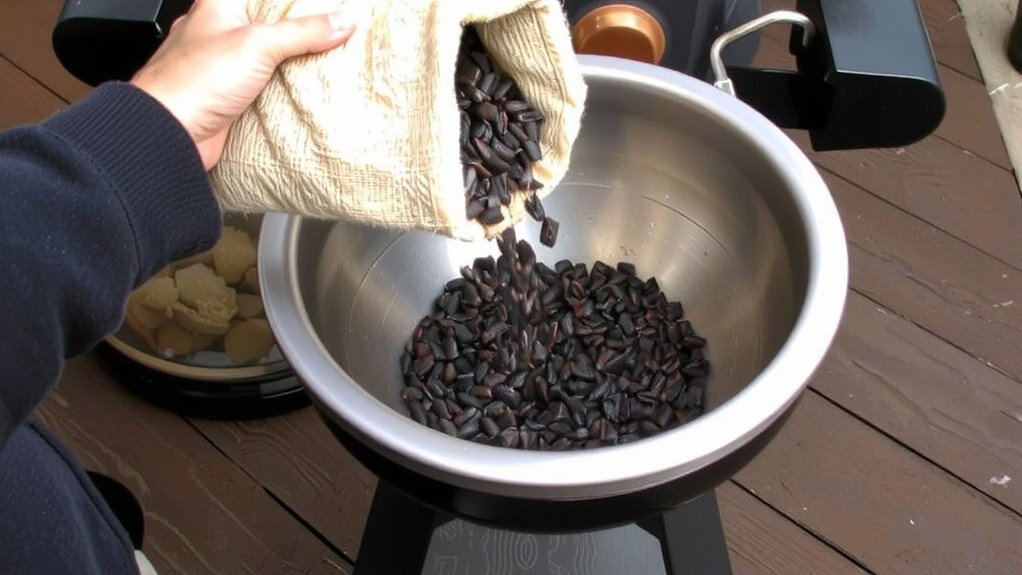
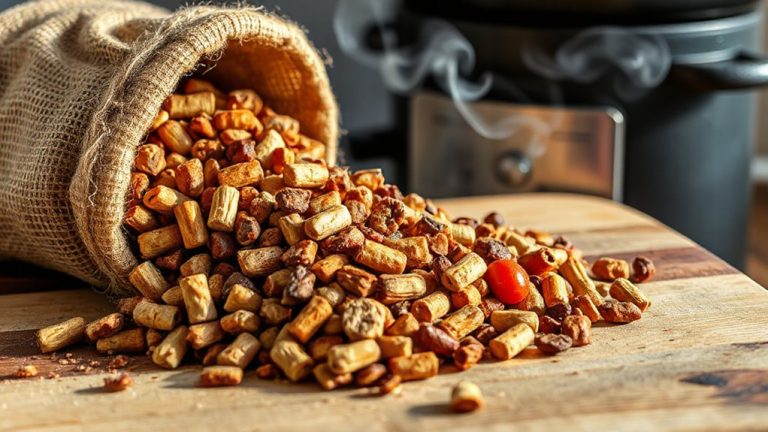
A clean hopper filled with fresh, high-quality wood pellets is essential for consistent heat and authentic smoke flavor, so don’t just grab the nearest bag-your cook depends on it. Start by checking that the hopper is dry and free of leftover debris, which can clog the auger and disrupt fuel flow. Pour pellets slowly to avoid spillage, filling to about three-quarters capacity to allow for expansion and airflow. Proper pellet storage is critical: keep unused pellets in a sealed, dry container to prevent moisture absorption, which leads to jams and inefficient burns. Moist or low-grade pellets also compromise auger maintenance, increasing wear and risk of motor strain. High-density hardwood blends burn cleaner and feed more smoothly, enhancing both temperature control and flavor. Consistent pellet quality doesn’t just improve performance-it extends the life of your grill’s internal components, giving you more reliable cooks over time. For optimal results, choose best pellets for brisket that deliver rich smoke and consistent combustion.
Season Your Pellet Grill for the First Time
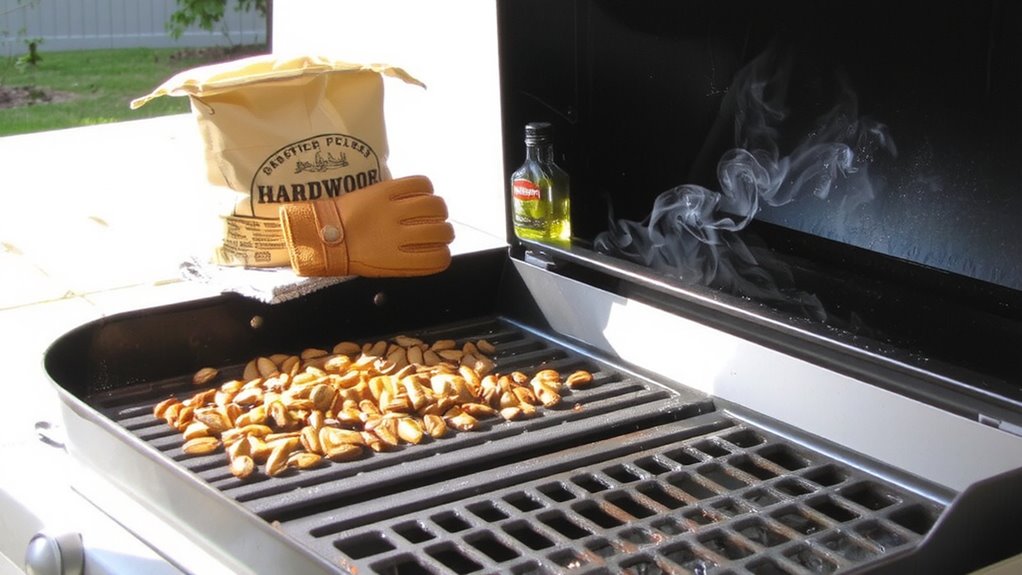
You’ve loaded fresh pellets into a clean hopper, and now it’s time to fire up your pellet grill for the first time-this initial burn-off isn’t optional, it’s how you lock in performance and protect your investment. Seasoning burns off manufacturing residues and stabilizes internal components, a vital step in grill maintenance that guarantees long-term reliability. Set the grill to 450°F and let it run for 45 minutes. During this phase, the metal expands uniformly and oil residues vaporize, laying the groundwork for consistent heat and flavor development. A properly seasoned grill performs similarly to a well-maintained best comal for tortillas, ensuring even heating and durability over time.
| Temperature | Duration | Purpose |
|---|---|---|
| 250°F | 15 min | Warm-up phase |
| 350°F | 15 min | Resin burn-off |
| 450°F | 45 min | Metal seasoning |
| Cool-down | 30 min | Stabilization |
This process enhances durability and prepares your grill for peak cooking performance.
Cook Your First Meal on the Pellet Grill
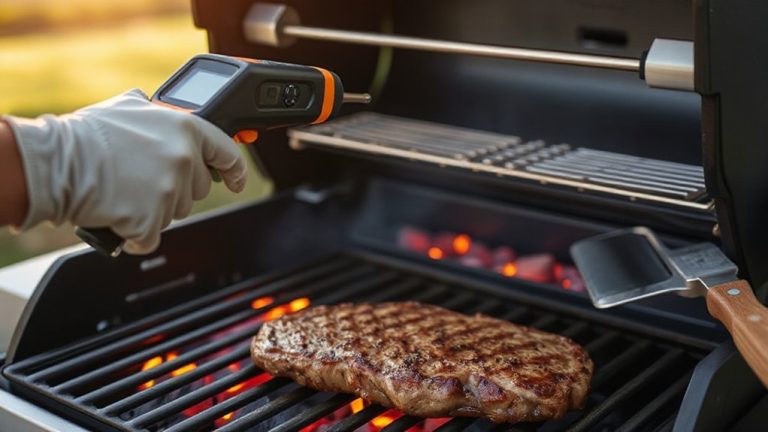
Why should your first meal on a pellet grill be something simple yet revealing of the grill’s capabilities? Because it lets you assess temperature control, smoke output, and flavor delivery without overwhelming variables. For your first grill session, choose something like boneless chicken breasts or a pork tenderloin-lean enough to highlight mistakes, forgiving enough to succeed. Good meal prep guarantees even cooking: pat proteins dry, apply a light rub, and let them sit at room temperature. Preheat the grill to 225°F for low-and-slow or 350°F for faster searing. You’ll notice the pellet system maintains steady heat, with clean smoke enhancing taste. Avoid complex recipes now-focus on how the grill responds. This foundational cook builds confidence and reveals performance nuances you’ll rely on for future BBQ projects.
Clean Your Pellet Grill After First Use
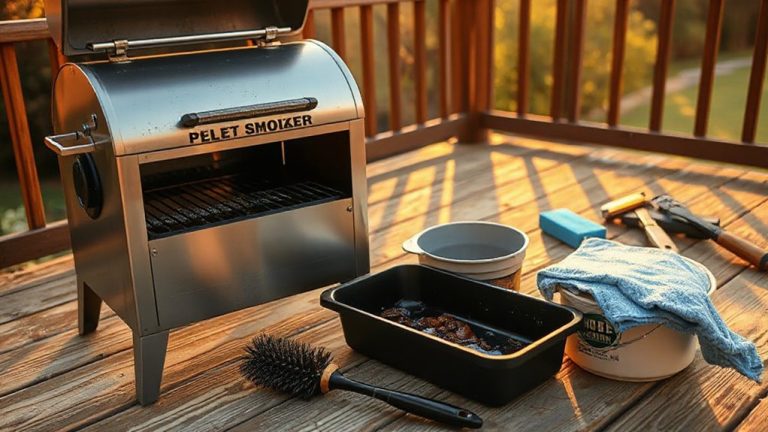
Now that you’ve cooked your first meal and felt how smoothly the pellet grill manages heat and smoke, it’s time to shift focus to maintenance-starting with a proper cleanup. Good grill maintenance begins with thorough ash removal, which prevents airflow blockages and protects internal components. Once the grill cools, remove the grates and drip tray to access the firepot and burn grate. Use a shop vac or ash tool to clear leftover ash, ensuring the auger and smokestack remain unobstructed. Wipe down interior surfaces with a damp cloth-avoid harsh chemicals that could damage finishes. Empty the grease tray to reduce fire risks and odor buildup. Regular cleaning preserves performance and extends your grill’s lifespan. While pellet grills are designed for convenience, skipping post-use care undermines reliability. Consistent ash removal and surface cleaning aren’t just chores-they’re essential habits for achieving repeatable, high-quality results.
On a final note
You’ve set up, seasoned, and fired up your pellet grill successfully. These grills offer precise temperature control and consistent smoke delivery, making them ideal for hands-off BBQ and flavorful results. Their ease of use suits beginners, while their versatility appeals to seasoned cooks. Proper maintenance guarantees longevity and performance. With the right technique and care, your pellet grill becomes a reliable outdoor cooking centerpiece, blending convenience with authentic smoked flavor-perfect for weeknight dinners or weekend feasts.